
It was really windy today so I made the girls a pin wheel before we headed out for the day. I made a few adjustments to the way they are usually done just to make it a bit safer for little fingers :-)
They were so excited to see it spinning madly in the breeze as we walked along and Bubble was very interested about why it would only turn when she held it in a certain direction. I had to laugh when there was a sudden lull in the wind and the pinwheel stopped turning, Bubble turned to me with a sad face and announced "oh no! Flat batteries!".
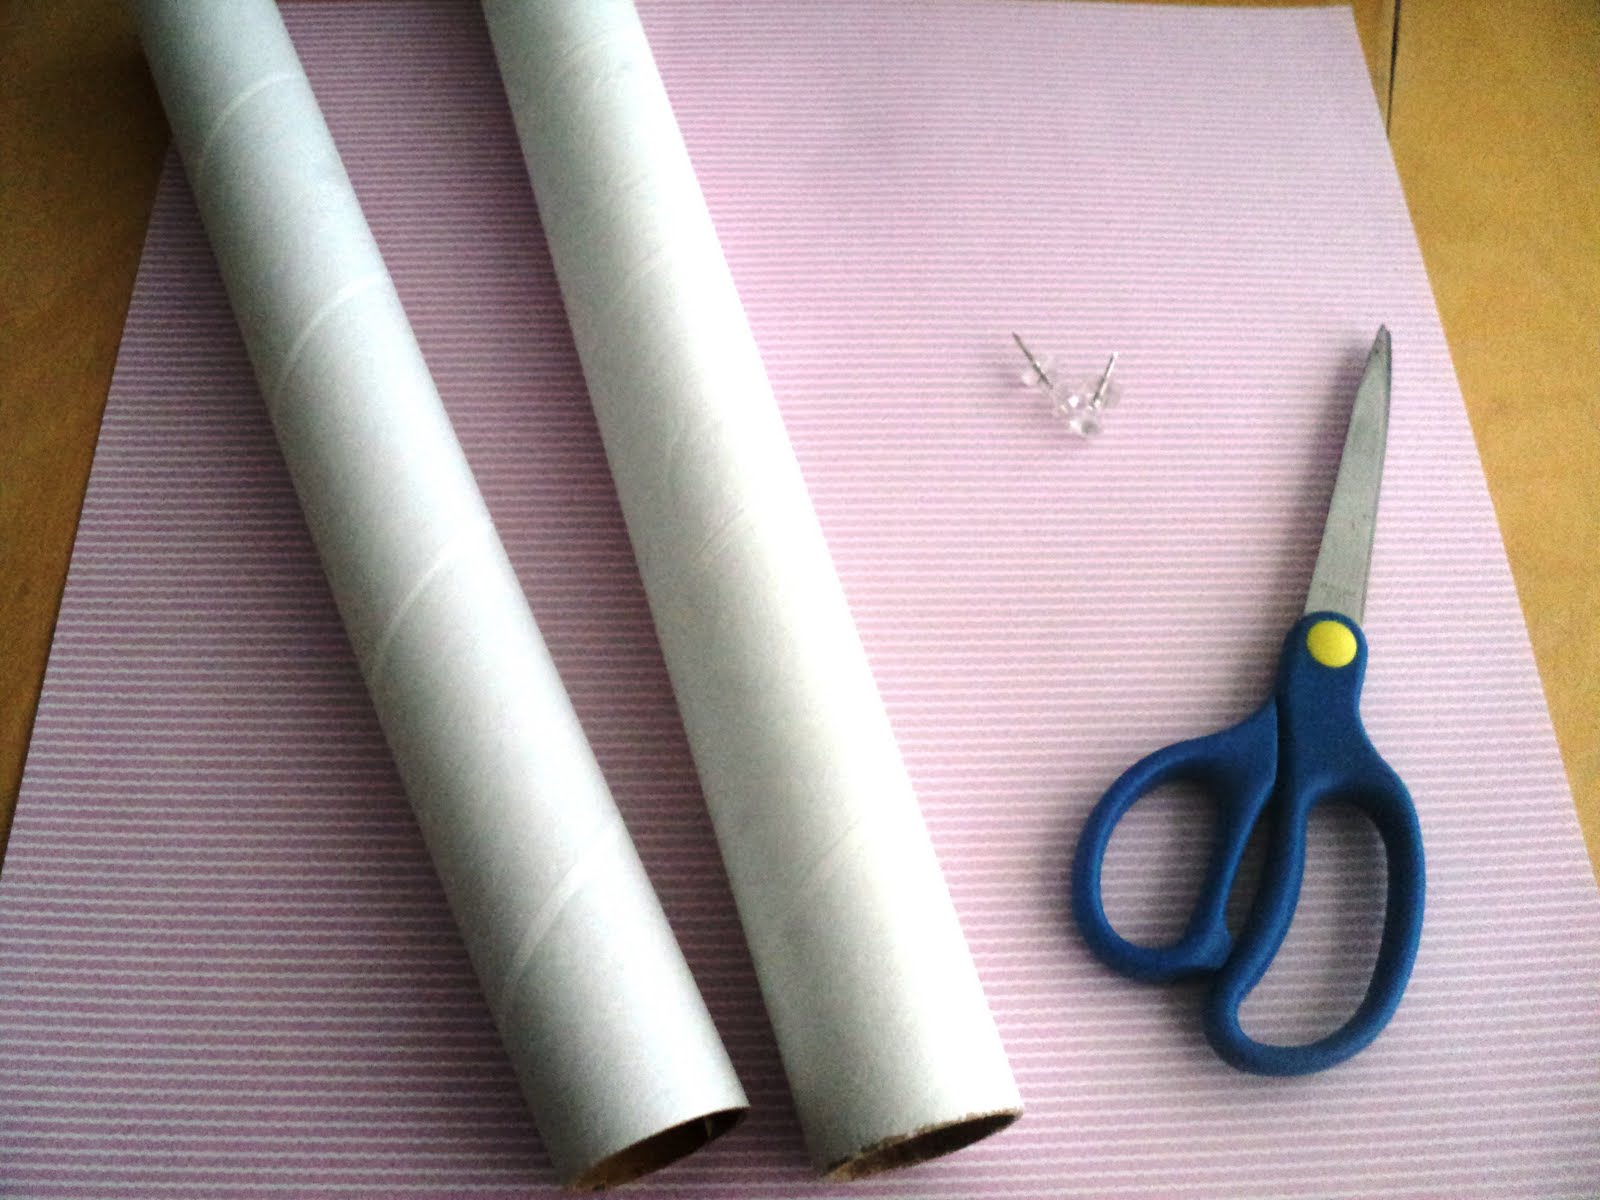
WE USED:
* thick scrapbook paper in a square shape
* scissors
* bead head pin
* thick cardboard tube (ours is from inside GladWrap)
* soft plastic lid (we used a milk bottle lid)
* needle nose (or craft/jewellery) pliers
They were so excited to see it spinning madly in the breeze as we walked along and Bubble was very interested about why it would only turn when she held it in a certain direction. I had to laugh when there was a sudden lull in the wind and the pinwheel stopped turning, Bubble turned to me with a sad face and announced "oh no! Flat batteries!".
WE USED:
* thick scrapbook paper in a square shape
* scissors
* bead head pin
* thick cardboard tube (ours is from inside GladWrap)
* soft plastic lid (we used a milk bottle lid)
* needle nose (or craft/jewellery) pliers
 Fold your paper diagonally in both directions to form an 'X' across it.
Using scissors cut along all four lines stopping about 4-5 cm from the centre point.
Using scissors cut the middle circle from the soft plastic in your bottle lid (as in cut off the rim of the lid so you are just left with the disc of soft plastic from the centre). Push your pin through it to make a hole in the middle, then remove pin and put the plastic disc to one side for a moment (you'll need it later).
 Take one side of each triangle (the same side on each one) and bend it into the centre point. Use a pin the secure the corners to the centre of the pinwheel. It might help to use your pin to make holes in each corner before bending them in.
 Push the pin into the side of the cardboard tube until it goes right through. Pinwheels are usually mounted on straws or wooden sticks, bit I wanted the pin well away from my girls fingers and to make it as secure as possible so it wouldn't be pulled out.
 Slide the plastic disc that you cut from the bottle lid earlier onto the pin inside the tube. Then use your pliers to bend the end of the pin over so that it cannot be pulled free from the tube. Make sure you dont make the pin too short where the pinwheel is attached, you want it to be able to turn freely.
 Our pinwheel was carted all over the place all day and still made it home in one piece :-)
If my instructions weren't very clear, here is a video tutorial for making pinwheels the traditional way:
WIKIHOW TUTORIAL FOR MAKING PINWHEELS
No comments:
Post a Comment