Showing posts with label Gross Motor. Show all posts

Tuesday, May 24, 2011

Floor Plan Treasure Hunt

My girls love treasure hunts. LOVE them. It doesn't matter if the 'treasure' is something cool and sparkly or a pair of rolled up socks, they love hunting down hidden things. And if there is a map to follow? Even better.

WE USED:

* paper
* ruler
* pencils/pens/markers
* laminator
(you could also use clear contact or a clear document slip)
* whiteboard marker
* 'treasure'

To start with I used pens and a ruler to draw the floor plan of our apartment onto a piece of paper. I included doors and fixtures like sinks, baths, showers etc...

Then I ran it through the laminator (you could also use a plastic slip or clear contact paper). Using a red whiteboard marker I then made 'treasure' crosses on the map to show the girls where to hunt.
Note; I didn't add furniture to the floor plan because I think that would have been too easy for Bubble, but they could easily be drawn in before laminating or with a whiteboard marker afterwards.

We used these cute heart shaped paperclips as our treasure.
I hid each one in a different place, then made a cross on our map to show which room they were in and the rough location.

As the girls found each treasure they added them to a tally card and wiped off the corresponding cross on their map.
We also played in reverse, with the girls hiding the treasures and marking the crosses and Mum having to hunt them out (they found some pretty tricky hiding spots I can tell you! :-D).

This was such a fun game, I can see it is going to be a favourite for a while yet! I loved watching Bubble studying the map and working out where to go, and little Squeak was adorable copying her sister and saying "hmmm" just like she did. They made such a very cute little team :-)

We Play


Monday, April 18, 2011

Footprint Earth

Bubble is at Kindy today so Squeak and I did an easy little painting project for Earth Day together. Ordinarily Squeak isn't overly interested in painting and drawing projects, but this one involving feet and paint was a big hit with her (and the results are so cute too).
I think this activity would look fantastic done on a larger scale with even more kids involved!

WE USED:

* blue and green paint
* tape
* scissors
* newspaper or drop cloth
* shallow dish or box for paint
* paper/cardboard to make a large circle

(we made our circle by taping together sheets of recycled office paper and then using this method of drawing a circle with string and a pencil. I just held the loose end in the centre of our paper rather than using a tack though).

After we had made our large paper circle using the method linked above we squirted blue paint all over it and used our hands to cover it all over. Squeak loved this part and squelched the paint gleefully through her fingers and even used her elbows to spread it across the paper.

We left the circle to dry (while Squeak had a bath!) and then squirted our green paint into a shallow casserole dish for the second part of our earth painting activity.
Squeak really enjoyed squishing around in the green paint with her feet and then running across our 'Earth' to make her little patterns.


She worked out how to slide her painty feet around and we got some even better effects!


Our finished Earth looks even better in real life and is a very colourful addition to the lounge room wall :-)

We Play

“Come over to play at the
Childhood 101 We Play link up”


Sunday, January 16, 2011

Rainbow Party Playdate

Bubble had one of her friends over for a play date today and she was very excited about it. I asked her yesterday what she would like to do for the day and she answered with "a rainbow party" (rainbows are a bit of a big deal around here at the moment). At first I was going to say no, parties are for birthdays not for playdates, but then I thought ... well, why not? Not a presents and cake all out type party, but why not put up some decorations, pick a theme and do some special activities?
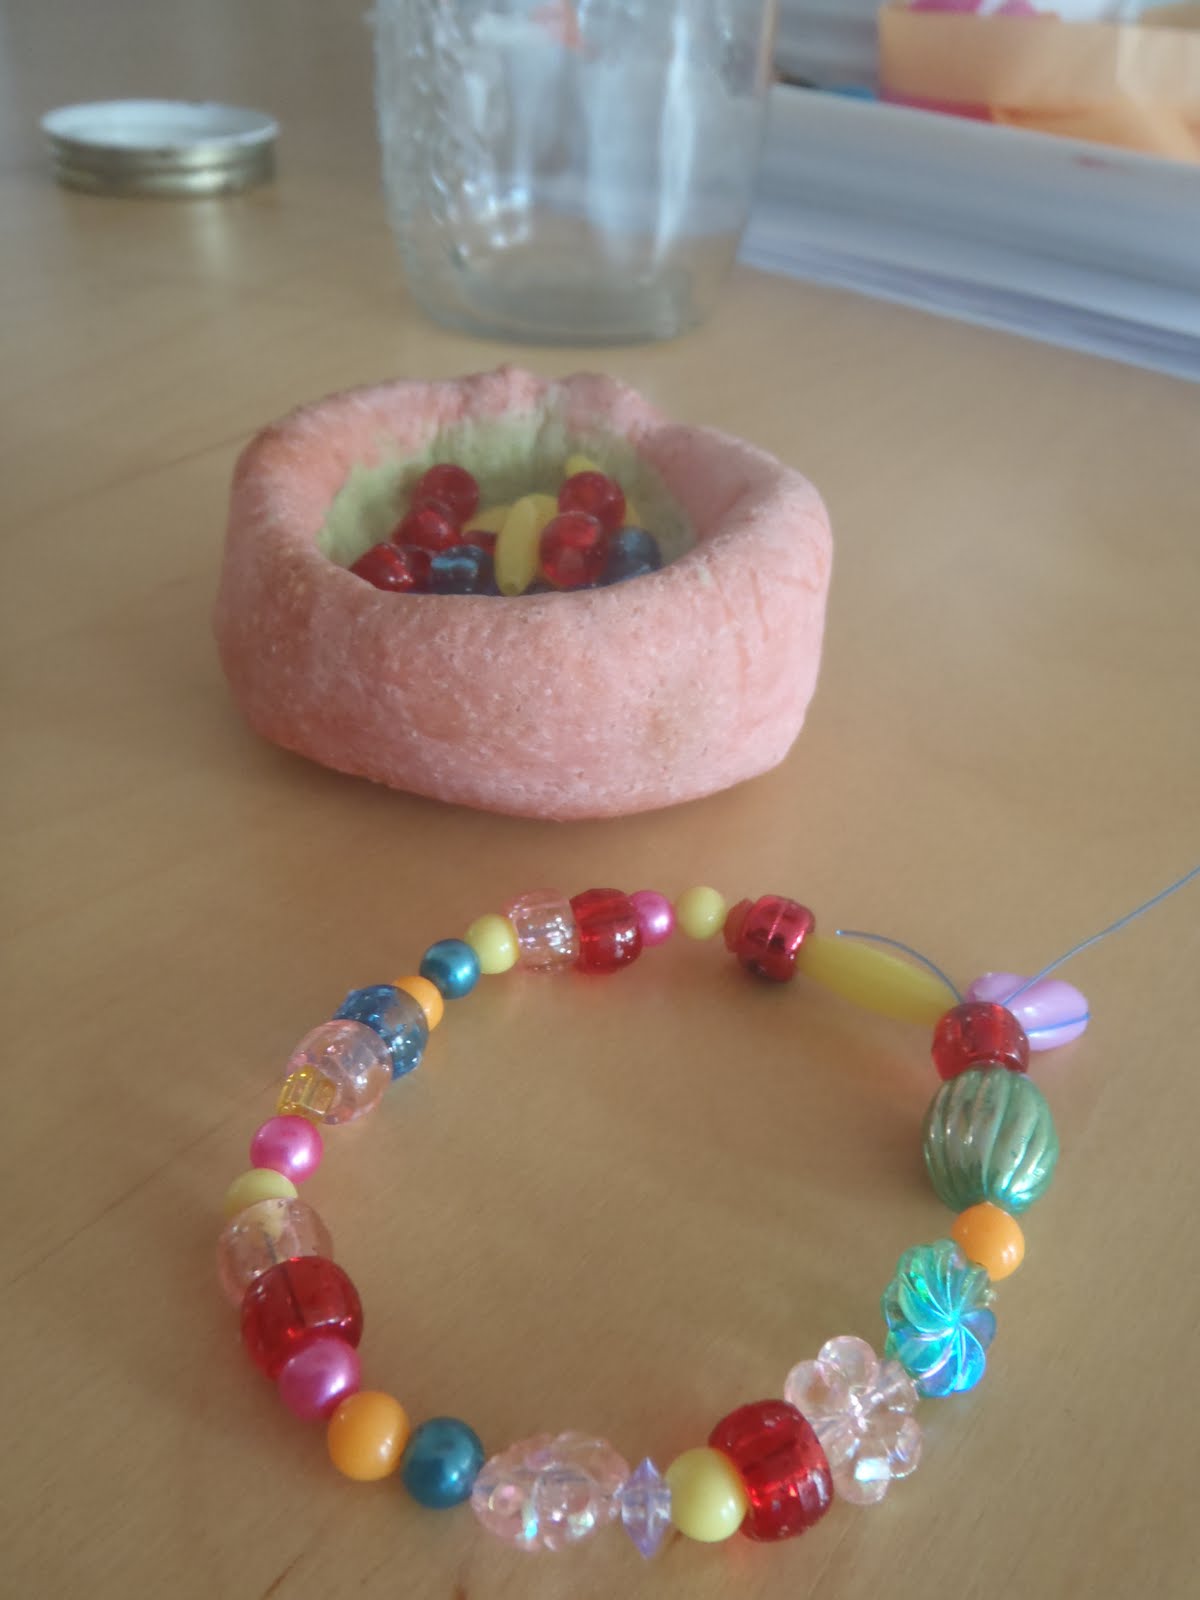
So a rainbow party day is what we had and all three of the girls had an absolute ball. I put up some tissue paper poms that were left over from a BBQ at the park, blew up some coloured balloons and put some rainbow themed activities in the middle of the table. We made coloured salt dough necklaces and colourful bead bracelets, dressed up as butterflies, drank fruit milkshakes and made some rainbow cookies. We then headed to the park and blew bubbles and made some brightly coloured dancing wands. It didn't hurt that the weather today was so beautiful too, just perfect for a happy little rainbow celebration.

These poms are so easy to make and the bright colours were perfect for our rainbow party today.
For instructions on making your own check out this link.


I made up some simple salt dough from this recipe and created some bright colours for the girls to use. We used playdough utensils and skewers for making the necklace holes in the top.

Bubble made a handprint with some of her dough.

One of the baked salt dough necklaces - I overcooked them a tad but they still looked pretty good luckily!


Milkshake time - the girls made their own using colourful fruit, yoghurt and milk.

Yum!

We played a game with some colourful pompoms - using masking tape we made a start and finsh line on the floor. The girls loved using straws to have races blowing them across the tiles.
Game inspired by this post on House Of Baby Piranha.


The girls enjoyed dressing up in wings and jewellery, as well as anything else they could dig out of the dress up boxes!


The balloons were a hit (when are they not :-D).

The girls made colourful bead bracelets while we waited for our cookies to bake.

I followed this recipe to make rainbow cookie dough and the girls created their own colourful masterpieces to bake. They were really yummy!


Chasing bubbles at the park.

I asked the girls to collect a stick each so that we could make some dancing wands. They took their time finding just the 'right one' :-)

We used some reels of ribbon and a pack of colourful clips from the dollar shop to make our wands with.

We simply attached the clips to the end of our sticks and tied the lengths of coloured ribbon to them. Easy and fun!


Bubble taking her rainbow dancing stick for a spin.

Wednesday, November 17, 2010

Paper Plate Ring Toss Game

Today we made our own take on the traditional ring toss game. Bubble enjoyed playing it and Squeak enjoyed pulling the rings on and off.
This game worked great for Bubble and Squeak who were throwing close range, but if you wanted the rings to be thrown from a decent distance I think the paper plates were not dense/heavy enough. In this case I'd probably either layer and glue several plates together or wrap them in something like string or twine to weight them.

WE USED:

* paper plates
* paint
* scissors
* long cardboard tube (from cling wrap, peper towel etc...)
* sticky tape

Cut the centre from some paper plates to use as your 'rings'.

To make the stand I just cut slits in the bottom of the cardboard tube and flattened the ends, then taped it to the reverse side of a plate so it would stand up.


Friday, November 5, 2010

Cup & Ball Game (Part 2)

This activity is an adaptation of the cup and ball game we made recently.

WE USED:

* empty milk bottle (base removed)
* white paint
* textas/markers
* scissors/craft knife
* thin elastic
* paper clip
* aluminium foil

Pierce a hole in the centre of the bottle lid and thread through the elastic, from the top of the lid through to the underside.
Tie a knot at the end on the top of the lid. At the other end tie a paperclip.
Feed the elastic and paperclip through the neck of the bottle and replace cap.

Ball your foil around the paperclip so it is in the centre and anchors the ball to the elastic securely. Be sure to do this after you have threaded the elastic and paperclip through the bottle and replaced the lid as the ball wont fit through the bottle opening afterwards.

The final product is lots of fun and a lot easier to use than the other version. Your child holds the base (the end where the lid is) and can bounce the ball in and out of the cup.
Adjust how hard or easy the game is by pulling the elastic through the lid making it shorter or longer (the shorter you make it the easier it is to make sure the ball stays in the cup).

Thursday, November 4, 2010

Balloon Rockets

I know, I know, you'd have thought we'd had enough of balloons and rockets, but well... no :-D This activity was easy and quick to set up, and major fun. Both Bubble and Squeak thought the noise the balloon made when we let it go and the way it shot down the string were HILARIOUS, there were lots of giggles in our house today.

Other Ideas: Why not run two or more lines across the room and have races? I think this would be lots of fun for a classroom or party activity.

WE USED:

* thin elastic (could also use wool, string, twine etc)
* drinking straw
* scissors
* sticky tape
* balloon
* our paper rocket from our Rocket Straws activity
(this isn't necessary, we just thought it would be cool to add a rocket :-D)

On the underside of our rocket we taped a drinking straw that had been cut in half.

Then threaded our straw onto one end of the elastic.
If you are not using a rocket just thread your half straw onto whatever you are using (elastic, string, wool etc..).

Tie your elastic/string across the room, making the straw/rocket end slightly higher than the other end.

We used a kitchen chair to secure one end and tied the other to Squeak's highchair.

Tape a loop of tape to the underside of your straw/rocket (so that there is a sticky side facing out)

Blow up a balloon and while holding the end so it doesn't deflate press the top of it against the tape underneath the straw/rocket so that it sticks. Make sure the back of the balloon is facing backwards as shown in the photo.

Have a countdown and let your balloon go - your rocket will shoot to the other end of the string faster than lightning (well, not really, but pretty fast :-D).

One of our rocket balloons at the end of the line.