Bubble had one of her friends over for a play date today and she was very excited about it. I asked her yesterday what she would like to do for the day and she answered with "a rainbow party" (rainbows are a bit of a big deal around here at the moment). At first I was going to say no, parties are for birthdays not for playdates, but then I thought ... well, why not? Not a presents and cake all out type party, but why not put up some decorations, pick a theme and do some special activities?
So a rainbow party day is what we had and all three of the girls had an absolute ball. I put up some tissue paper poms that were left over from a BBQ at the park, blew up some coloured balloons and put some rainbow themed activities in the middle of the table. We made coloured salt dough necklaces and colourful bead bracelets, dressed up as butterflies, drank fruit milkshakes and made some rainbow cookies. We then headed to the park and blew bubbles and made some brightly coloured dancing wands. It didn't hurt that the weather today was so beautiful too, just perfect for a happy little rainbow celebration.
So a rainbow party day is what we had and all three of the girls had an absolute ball. I put up some tissue paper poms that were left over from a BBQ at the park, blew up some coloured balloons and put some rainbow themed activities in the middle of the table. We made coloured salt dough necklaces and colourful bead bracelets, dressed up as butterflies, drank fruit milkshakes and made some rainbow cookies. We then headed to the park and blew bubbles and made some brightly coloured dancing wands. It didn't hurt that the weather today was so beautiful too, just perfect for a happy little rainbow celebration.
 These poms are so easy to make and the bright colours were perfect for our rainbow party today.
For instructions on making your own check out this link.

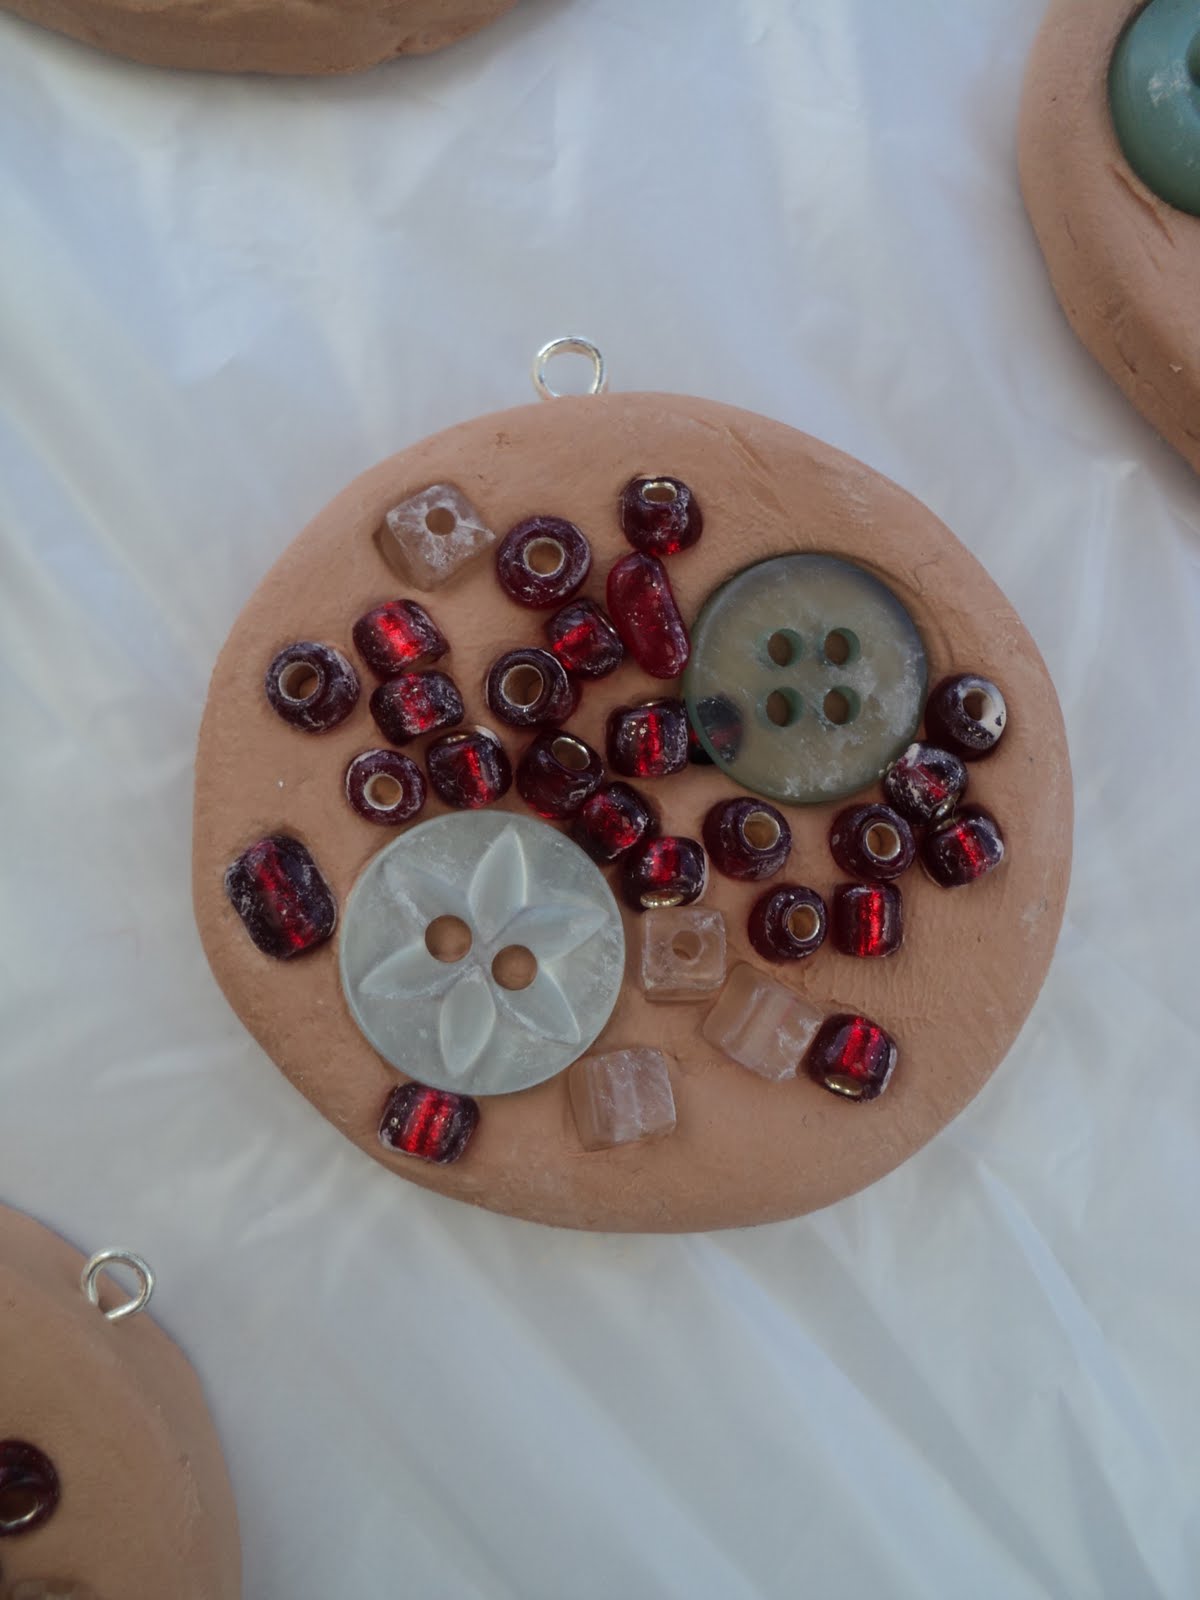
 I made up some simple salt dough from this recipe and created some bright colours for the girls to use. We used playdough utensils and skewers for making the necklace holes in the top.
 Bubble made a handprint with some of her dough.
 One of the baked salt dough necklaces - I overcooked them a tad but they still looked pretty good luckily!
 Milkshake time - the girls made their own using colourful fruit, yoghurt and milk.
 Yum!
Yum! We played a game with some colourful pompoms - using masking tape we made a start and finsh line on the floor. The girls loved using straws to have races blowing them across the tiles.
Game inspired by this post on House Of Baby Piranha.

 The girls enjoyed dressing up in wings and jewellery, as well as anything else they could dig out of the dress up boxes!
 The balloons were a hit (when are they not :-D).
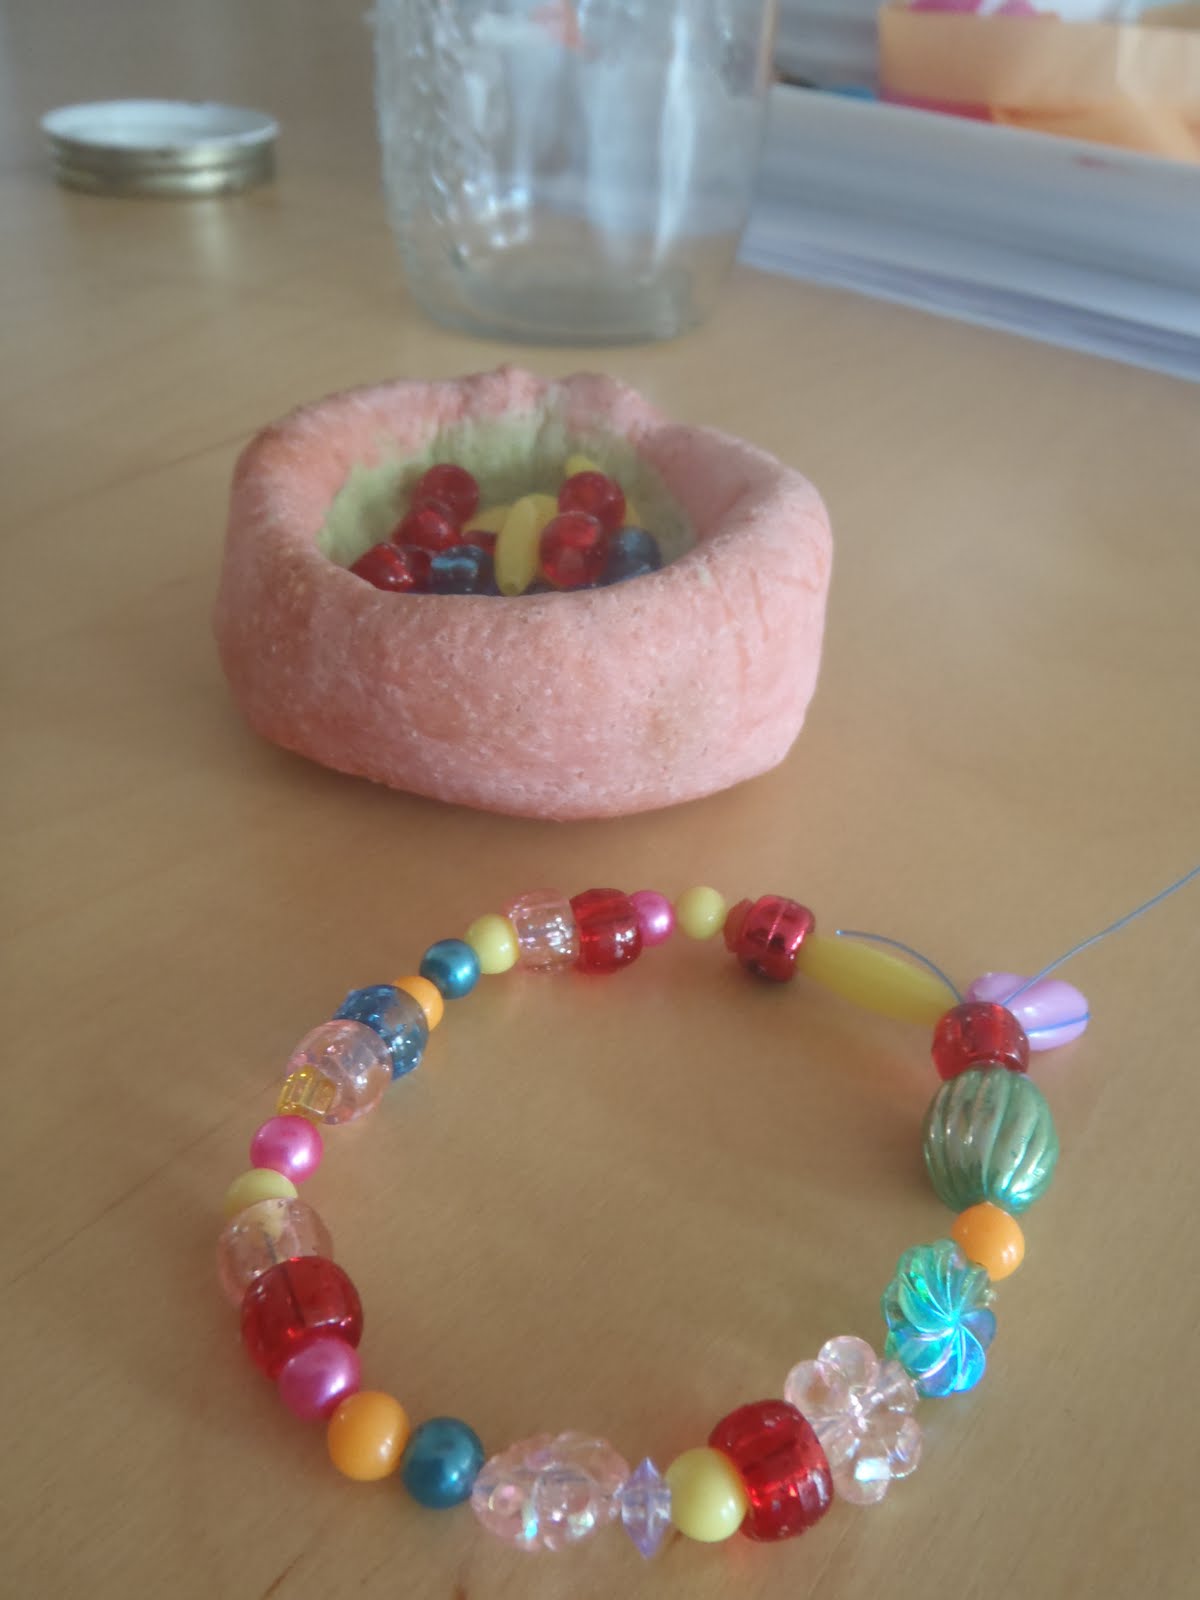 The girls made colourful bead bracelets while we waited for our cookies to bake.
 I followed this recipe to make rainbow cookie dough and the girls created their own colourful masterpieces to bake. They were really yummy!

 Chasing bubbles at the park.
 I asked the girls to collect a stick each so that we could make some dancing wands. They took their time finding just the 'right one' :-)
 We used some reels of ribbon and a pack of colourful clips from the dollar shop to make our wands with.
 We simply attached the clips to the end of our sticks and tied the lengths of coloured ribbon to them. Easy and fun!
 Bubble taking her rainbow dancing stick for a spin.