Showing posts with label Rainy Day Play. Show all posts

Wednesday, May 25, 2011

Animal Spotlight

Since the success of our Sight Word Spotlight game a while ago I've been meaning to use the concept for different activities for the girls to enjoy.
I remember when I was younger and growing up on a farm one of the most exciting things we used to do was go spotlighting for animals through the paddocks and bush at night. Since we have neither a farm or animals I thought I'd try and replicate the excitement of finding animals in the dark using photos and torches.

WE USED:

* animal pictures
(I used Google but you could also use pages from an old calendar, photos or pictures cut from magazines)
* blutac
* torch

Using blutac I covered the girls bedroom walls and ceiling in animal pictures. You don't need to use so many (we ended up with 32) I just got a bit carried away!
You could even extend the learning by clustering animals from the same continent or habitats.

Turn out the lights and turn on the torches and get hunting!
The girls were SO excited spotting different animals in the dark, they particularly enjoyed the ones on the ceiling.
We also played a game where I made different animal sounds and they had to find the corresponding animal with their torches.


We Play


Wednesday, May 18, 2011

Warm Water Play

The weather has been a bit unpredictable here lately, one day we have sunshine the next it's overcast, wet and freezing. On cold days we add warm water to our water table so the girls can still enjoy their favourite outdoor activity.

WE USED:

* warm water
(always test temperature before letting your kids play)
* water table or plastic tub/paddling pool
* water toys
* towel

Other ideas - add food colouring, ice cubes or bubble mix for extra play value.

To do our bit for water conservation (always a priority in Australia!) we use a bucket in our shower to catch the 'warm up water' for the girls play activities (meaning the water that usually goes down the drain while you wait for it to 'warm up'). Add in the rest of the hot water from the kettle after your morning coffee and you have the perfect water play activity for a cold day.

Tuesday, May 17, 2011

Balloon Powered Boat

I have so many posts to catch up on in here, I'll do my best to get through them over the weekend! We've had two sick little girls with the flu bug so not as much craft action as usual, but these balloon powered boats were a big hit today while we (finally :-D) enjoyed some nice warm weather.

WE USED:

* rectangular plastic container
(we used a cornstarch food container, but an empty margarine/ice cream container would work well too)
* sharp knife/craft knife
* drinking straw
* balloon
* sticky tape
* small elastic band
* scissors
* blu tack/sticky tack


First use your knife to make a small hole in one end of your container just big enough for your straw to fit through.

Cut your straw in half and attach the balloon to one end using sticky tape and the elastic band. It should be secure enough that you can use the straw to blow up the balloon without it leaking around the sides.

Thread your straw through the hole in your 'boat' making sure the balloon end is on the inside.

Use your blu tack to secure the straw on each side so it is watertight. You could also use Plasticine for this.

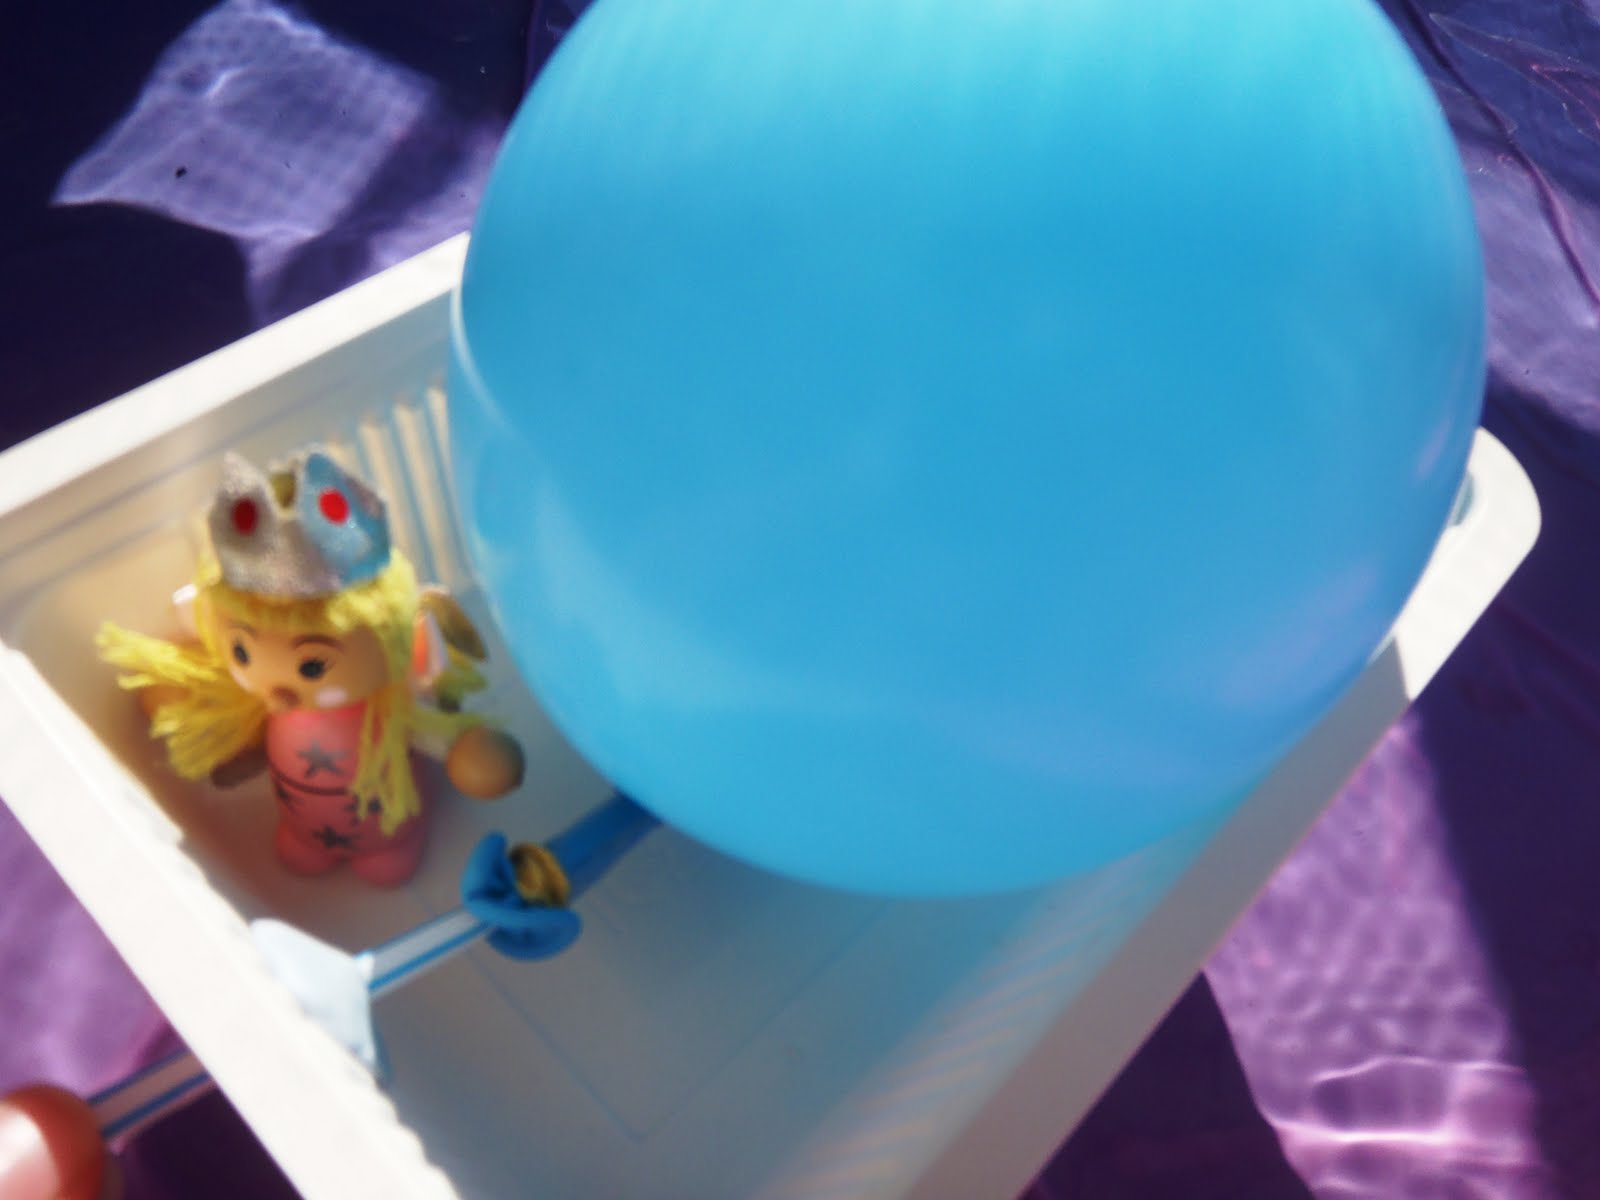
One balloon powered boat ready for the water!

Using the straw blow up the balloon and then kink or put your finger over the end so the air doesn't escape.

Place your boat in the water, let go of the straw and off it goes :-)

The girls enjoyed racing their boats around the paddling pool.


Wednesday, May 4, 2011

Paper Plate Stencils

Sorry for the long delays between posting, we are doing a lot of work on Bubble's ABA program which is taking up most (all really!) of our spare time. Both Bubble and Squeak are showing benefits from it though, so we're very excited about that :-)
This activity is one we have done a few times before using both ice cream container lids and paper plates. We find the paper plate versions last for quite a few uses and the the lids last indefinitely.

WE USED:

* paper plates
* scissors
* pen/texta
* paint
* paper
* paint brush

Draw your stencil designs directly onto the base of your plates (or lids).

Cut out carefully using scissors or a craft knife.


Saturday, April 2, 2011

Glow Stick Hide & Seek

This has been a favourite before bedtime game this last week, and as the days get darker earlier as we head into the cooler months I can only see it getting more popular!
The idea is very simple; we take turns being the hider and the seeker, the seeker being the person who stands outside the door (not peeking ;-D) while the hider hides glow sticks around the room and switches the lights off. The seeker then has to hunt all the glow sticks out of their hiding places.
We count our glow sticks as they are collected and I ask Bubble questions such as "if you have found three glow sticks, how many more do you need to find?" and "how many green sticks have you found now?" to expand on our mathematics skills. We also play a few games using a timer to see who can find the most sticks in one minute during their turn and use lots of preposition hints like "look behind you" or "look on top".

WE USED:

* glow sticks
(we reuse our glow sticks by putting them in the freezer after they have lost their glow and thawing them the next night)
* room of the house
* egg timer

We hid our glow sticks in all sorts of places, some easier to spot than others!

Under large toys so the seeker would have to bend or crouch down to spot them.

Under pillows and cushions.

On chairs and under tables.

Up high on shelves and mirrors.

Bubble hunting out glow sticks armed with her torch. Squeak prefers to hunt around until she finally finds one and then abandons the game to run around waving it frantically in the dark :-D

Monday, March 28, 2011

Collecting Rain

The sunny days have been interspersed with rainy windy days here lately so the girls have been cooped up indoors more than usual. They both enjoy going out in their jackets and gumboots to stomp in puddles (who doesn't?!) but other than that the rain is cramping their style a little.
The other day we made a 'rain collector' which kept them happy for awhile, they stood out on the balcony collecting and drinking the rain the could catch as it fell from the sky.

WE USED:

* plastic bowl
* broom handle
(you could also use a stick or plank of wood)
* strong tape
* a rainy day!


Sunday, March 27, 2011

Magnetic Tree

Quite awhile ago we made these magnetic felt shapes to display and play with on our fridge. They have been getting a bit old and boring so today we created something a bit different to make the fridge front interesting again.
We re purposed our painted leaves from the sorting activity we made recently and some sticks collected on a walk through our local park to make something simple but fun.

WE USED:

* magnets
(for the leaves we used advertisement magnets collected from junk mail and cut into strips, and for the sticks we bought a pack of 6 stronger magnets from our local dollar shop).
* craft glue
* sticks
* leaves
* paint

Using glue we attached magnets to the reverse side of our painted leaves. Try to choose leaves that are either flat or curl forward, ones that curve back wont stick very well unless you are using strong magnets.

We attached our larger magnets to our sticks using plenty of glue (a hot glue gun would work best).

Bubble loved creating trees on the fridge with her new 'toy'. The combinations are endless, you could use all sorts of sticks in different shapes and sizes and a variety of leaves as well.
Maybe you could create a magnetic version of the leaf matching tree we made last year.

As an added bonus it also looks good and brightens up the kitchen.
Best toys for toddlers

We Play


“Come over to play at the Childhood 101 We Play link up”