Showing posts with label Hand Made. Show all posts

Saturday, June 4, 2011

Magnifier Discovery Board

Both of our girls are in love with their magnifying glasses at the moment, we bought them about a month ago and they've been getting a daily workout ever since. At Bubble's kindy they have a great 'discovery board' toy which consists of a wooden tray with holes cut into it and tiny specimens for the kids to look at with their magnifiers. There is a sheet of perspex bolted over the top to keep all the little things inside.
I thought it was genius and wondered if we could make something similar ourselves where the things inside could be changed around regularly. It took awhile to find some cheap petri dishes but our discovery board turned out pretty well and I'm really looking forward to changing the items inside it every few weeks to fit with whatever theme it is we are learning about.

WE USED:

* an old wooden puzzle board
(you could also use wooden board cut to size, a chopping board, a wooden tray etc...)
* a pack of plastic petri dishes
(we sourced ours from Ebay)
* adhesive
(we used clear Liquid Nails, but any strong glue would do the trick)
* small items of interest
* magnifying glass

For the base of our discovery board I used the reverse side of a large wooden puzzle that had lost some pieces.
(see HERE for what we did with the remaining pieces)

Using clear Liquid Nails (any strong glue would work, that was just what I had on hand) I attached as many of the petri dish bases to the board as I could fit.
Once the glue was dry (overnight) I filled each one with something interesting for the girls to examine and replaced the dish lids over the top.

Newsprint and old keys.

Pencil shavings and seed beads.

A piece of clay with an imprint and a swatch of interesting fabric.

Some coloured buttons and the insides from a broken kaleidoscope toy (I knew I held onto this stuff for a reason :-D).

A circle cut from one of the girls magazines.


Bubble examining the items in the discovery board.

Other ideas for discovery boards:

Natural items : leaves (skeleton leaves especially would look great), seeds, seed pods, flowers, dead insects like bugs or butterflies, soil samples, gravel/stones, bark samples, grass blades.

Colours or shapes: small beads, felt or fabric discs, sequins, play dough or clay shapes, miniature items of certain shapes (bottle lids, buttons, stamps etc...), glitter, coloured sand, confetti.

Textures: Fabric samples like hessian, satin, velvet etc..., netting (fruit bags or stockings), course sandpaper, recycled paper, carpet swatches, ash, smooth gemstones, clay, rough and smooth tree bark.

Best toys for toddlers


We Play


abc button

Tuesday, May 17, 2011

Balloon Powered Boat

I have so many posts to catch up on in here, I'll do my best to get through them over the weekend! We've had two sick little girls with the flu bug so not as much craft action as usual, but these balloon powered boats were a big hit today while we (finally :-D) enjoyed some nice warm weather.

WE USED:

* rectangular plastic container
(we used a cornstarch food container, but an empty margarine/ice cream container would work well too)
* sharp knife/craft knife
* drinking straw
* balloon
* sticky tape
* small elastic band
* scissors
* blu tack/sticky tack


First use your knife to make a small hole in one end of your container just big enough for your straw to fit through.

Cut your straw in half and attach the balloon to one end using sticky tape and the elastic band. It should be secure enough that you can use the straw to blow up the balloon without it leaking around the sides.

Thread your straw through the hole in your 'boat' making sure the balloon end is on the inside.

Use your blu tack to secure the straw on each side so it is watertight. You could also use Plasticine for this.

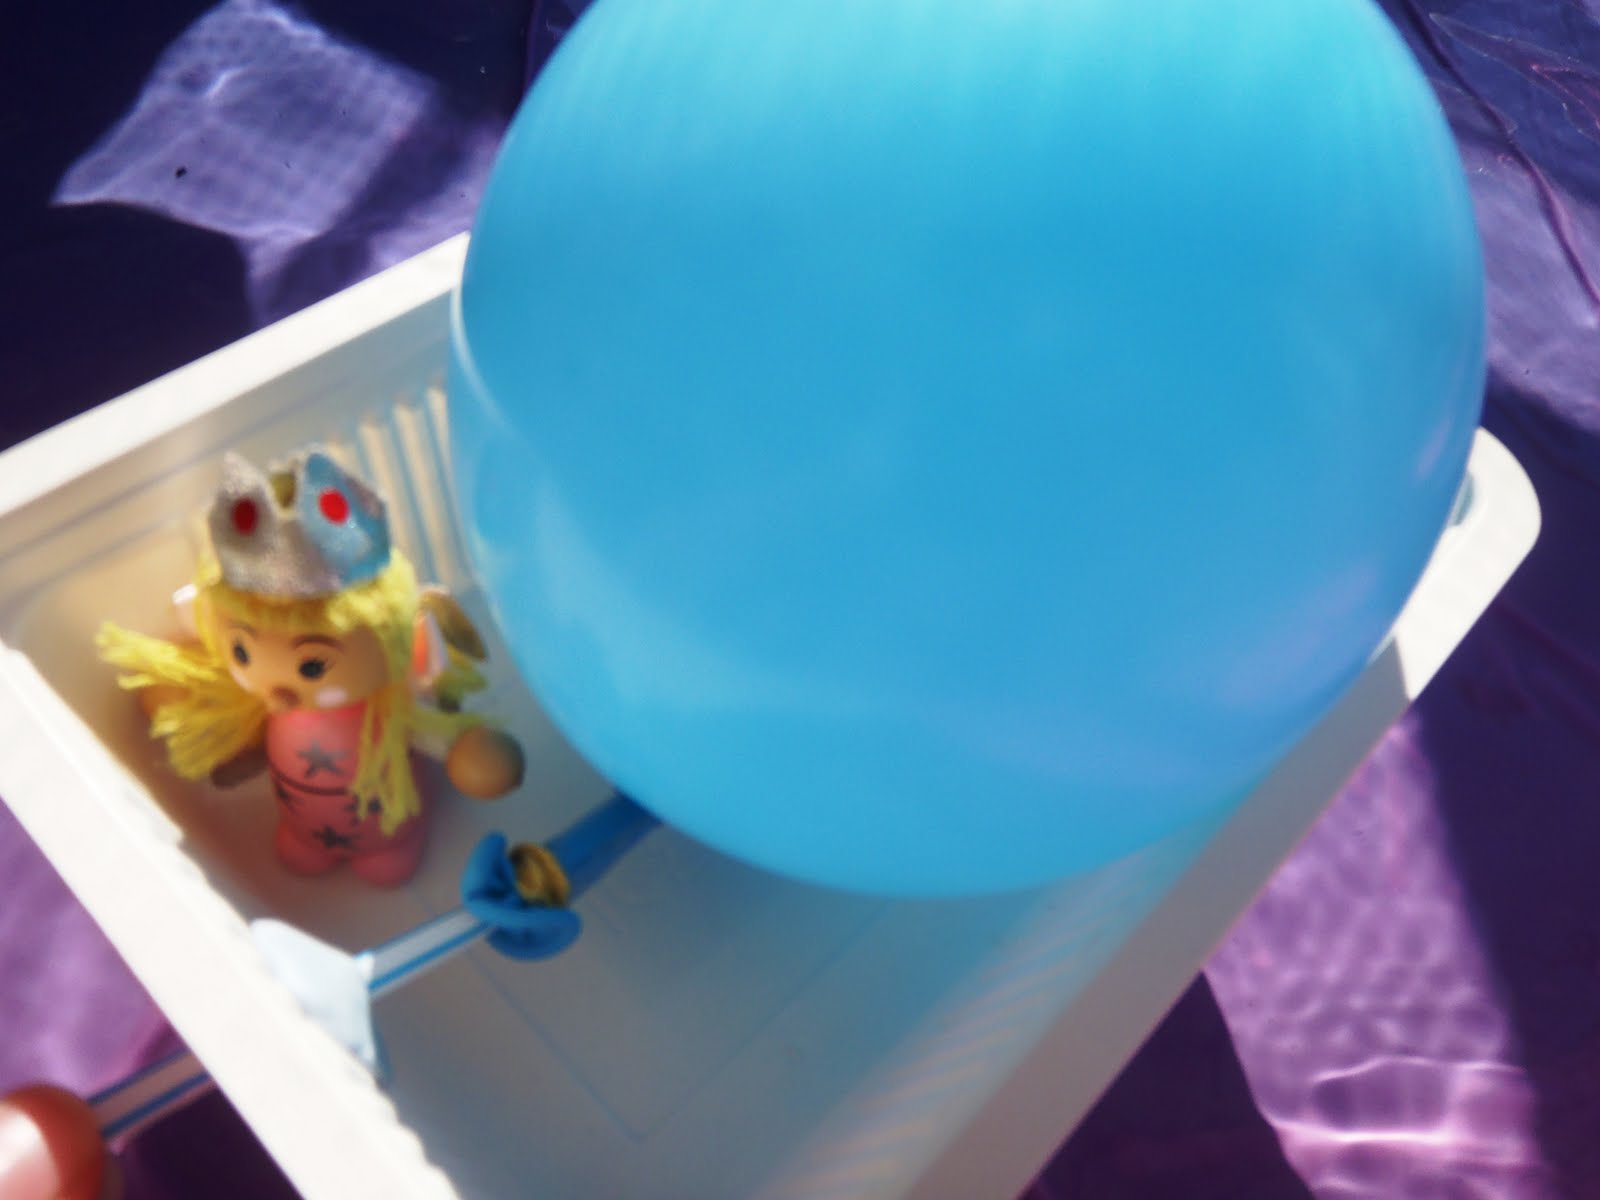
One balloon powered boat ready for the water!

Using the straw blow up the balloon and then kink or put your finger over the end so the air doesn't escape.

Place your boat in the water, let go of the straw and off it goes :-)

The girls enjoyed racing their boats around the paddling pool.


Sunday, April 24, 2011

ANZAC Day

Here in Australia (and in NZ) we celebrate ANZAC Day today, a national day of remembrance of the Australian and New Zealand Army Corps who fought in Gallipoli during WW1. It is also an opportunity to honour all servicemen, past and present, and their families for the sacrifices they have made (and still make).
The red poppy is often worn in honour of our ANZAC'S, so last night I made some wearable poppies for my girls to use today. They were very simple to make and a very cute way for them to show support, even if they don't fully understand the magnitude of what today means. Our girls are too little to learn about history in any great detail yet (particularly conflict and war) but they are not too young to be grateful for the wonderful country we live in.
On our daily walk today we were lucky enough to come across quite a few ex servicemen in their uniforms and medals, going to or returning from services and functions. Some shook our girls hands, some patted their heads and all of them smiled at Bubble's sincere "thank you for my happy Ansac (ANZAC) Day".

WE USED:

* red and green felt
* embroidery thread and needle
* black metal snap fasteners (or black buttons)
* superglue
* scissors
* metal hair clips or slides

First cut petal shapes from your red felt. I cut five for each poppy clip.

Arrange them into your flower shape making sure they all overlap at least a little and meet in the centre.

Sew the petals together in the middle using embroidery thread. There's no need to be very neat or make too many stitches (as you can see, I'm a very novice sewer!).

I used black metal press studs for the next step but you could just as easily use a black button, large beads or black felt.

Push through the top press stud making sure all the petals are included in the centre before attaching the bottom plate underneath (I just use pliers to push the two sides together).

On green felt trace around the end of your hair clip/slide (x 2, one piece for each side) leaving some space around the edge to sew the two halves together.
On one half attach the other side of your press stud before gluing and stitching the two sides onto your clip (if you used a button or bead for the centre of your poppy then sew the flower directly onto the green felt instead).

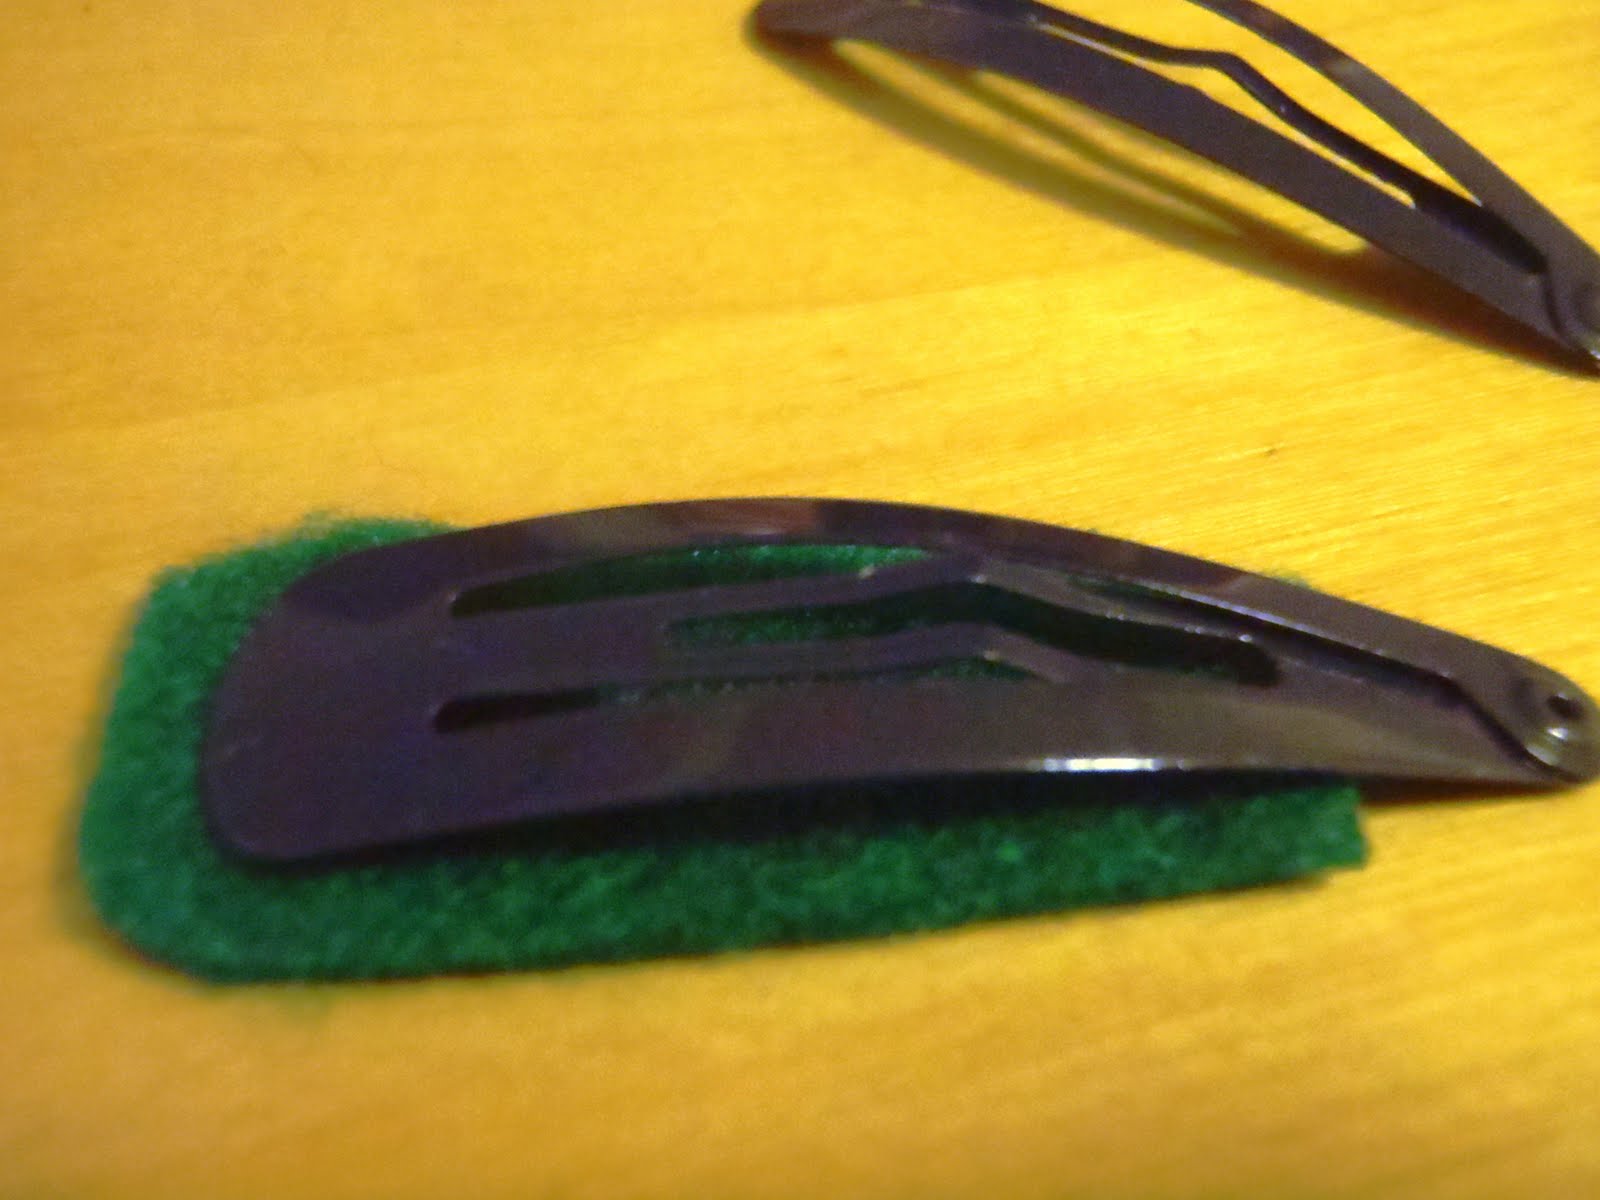
In this picture you can see the two sides of the clips, with the press stud on the top. I glued the felt before sewing it securely, just make sure you don't cover too much of the clip so it still opens and closes.

Attach your poppy using the press studs.


Ode of Remembrance
(taken from Laurence Binyon's poem "For the Fallen")

They went with songs to the battle, they were young.
Straight of limb, true of eyes, steady and aglow.
They were staunch to the end against odds uncounted,
They fell with their faces to the foe.
They shall grow not old, as we that are left grow old:
Age shall not weary them, nor the years condemn.
At the going down of the sun and in the morning,
We will remember them.

Wednesday, April 6, 2011

Learning About Eggs

With Easter coming up there are eggs everywhere at the moment, so I thought now might be a good time to teach the girls about them. I kept the labels simple since they are both so young, but you could add in the more complex labels quite easily.

WE USED:

* felt (white, cream and yellow)
* scissors
* egg diagrams printed from the net
* laminator
* blu tac

I found a good diagram of an egg on the net and printed it out, then made a 2D version for the girls to assemble using felt.

Bubble especially loved this activity, naming each part (shell, albumen/egg white, yolk) as she put them in the correct order to build her 'egg'.


We talked about how chicks develop inside the egg using laminated pictures and charts (also sourced through Google).

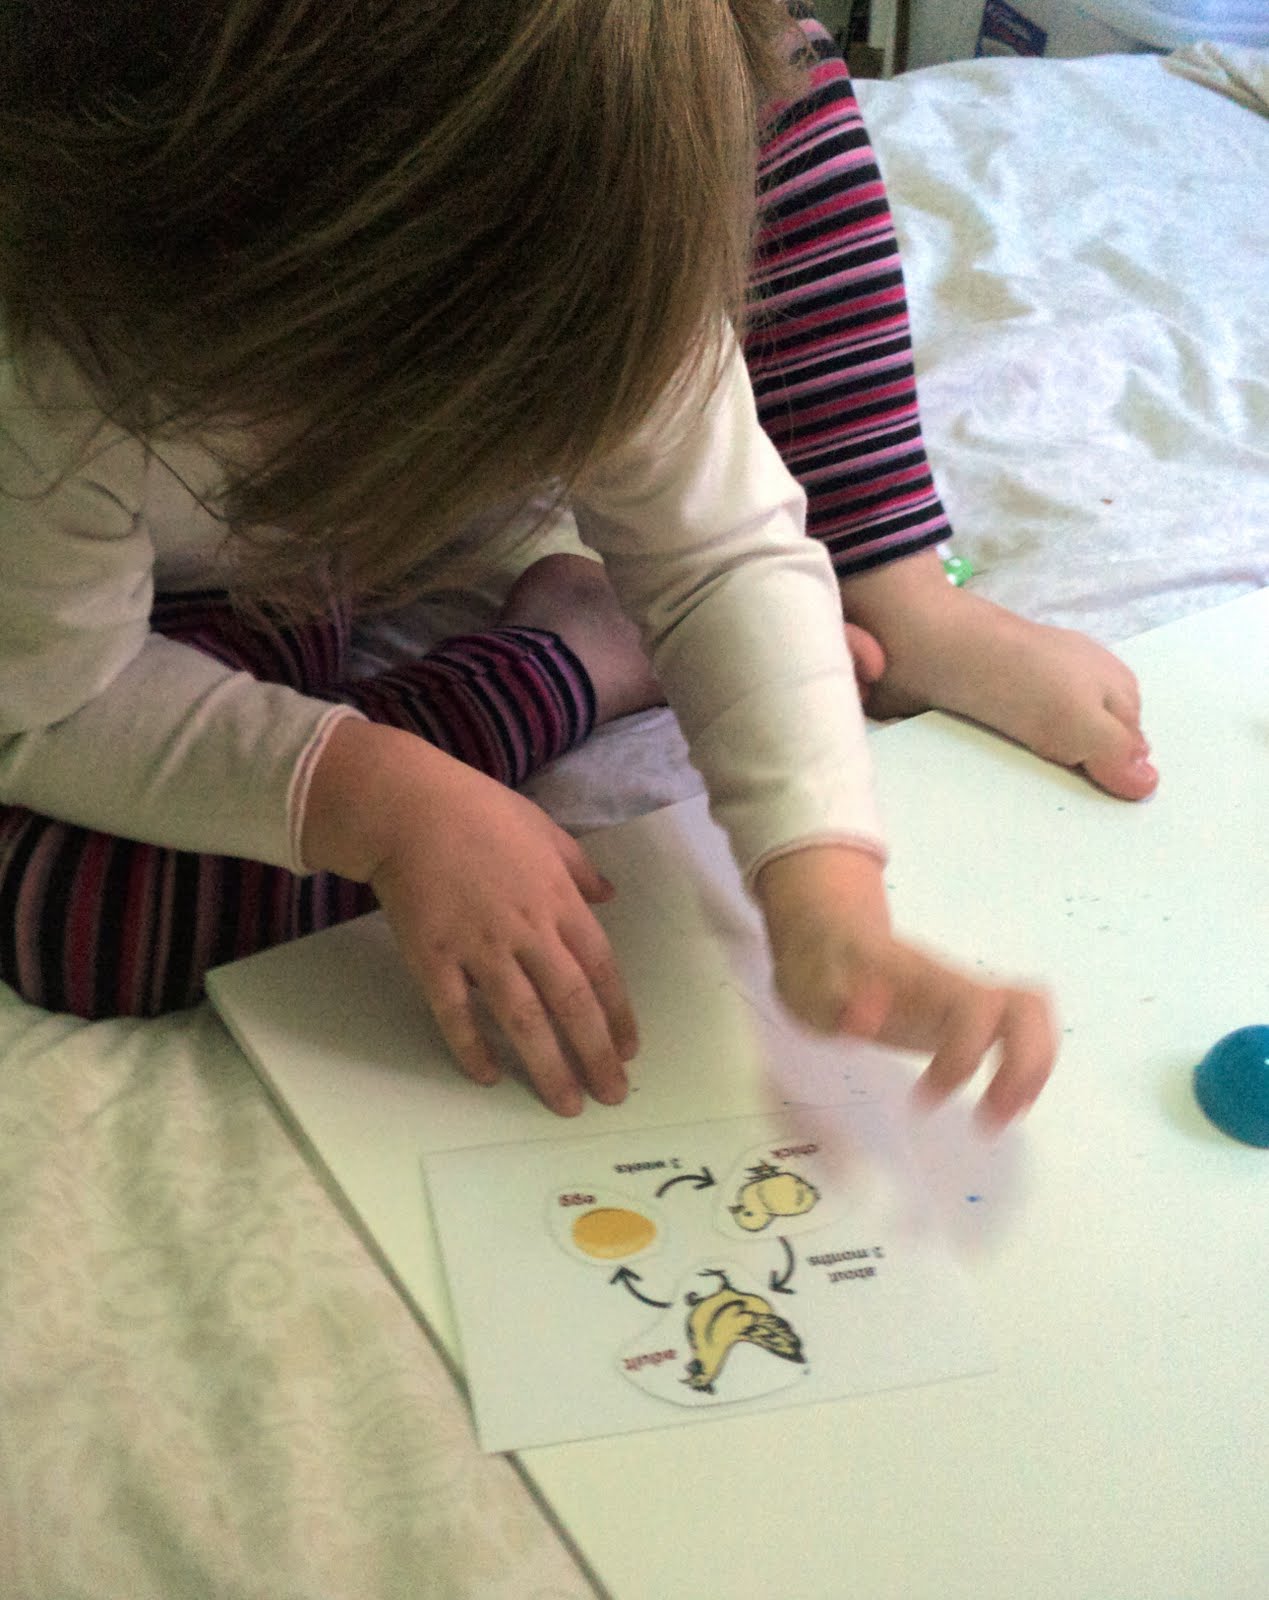
A simple matching game of the life cycle of a chicken. Each loose piece has blutac on the back so it can be matched to the chart.

Thursday, March 31, 2011

Cardboard Tube Car

Recently we came across some things called 'cable clips' at our local dollar shop and I knew exactly what I was going to use them for - making cars out of toilet rolls of course! This was really easy to do and the girls enjoyed playing with the finished product, if you cant find cable clips you could also use plastic wire or split head pins to hold your wheels on.

WE USED:

* cable clips (from the Dollar Shop)
* toilet roll tube
* scissors
* paint
* marker/texta
* 4 x soft plastic bottle lids
* sharp pointed craft knife/safety pin/thick needle/nail

First cut a flap in the side of your toilet roll. This will be where your dolls will sit so make it to size. Leave one end uncut and fold the cut section up so you have a little windshield.

Using your craft knife or needle pierce a hole in the centre of your bottle lids.

These are the 'cable clips' we used to attach our wheels to our cardboard tube car, you could also use pipe cleaners threaded through and folded over, plastic coated wire (the type used for gardening) or split head pins.

Our finished product - so cute!

Princess doll going for a ride in her new wheels.


Squeak got to play with this first while Bubble was at Kindy and enjoyed herself immensely. She was too little to be left unsupervised though in case she worked out how to remove the cable clips!


I love where the knight ended up...

Hehe :-D Luckily our car has a roomy boot.