Showing posts with label Gift Ideas. Show all posts

Saturday, May 21, 2011

Shell Necklaces

Bubble spent yesterday making some simple shell necklaces for her friends, she had so much fun picking out colours for each one and practicing tying her knots.
We used pre-drilled shells but they are easy to make if you have a Dremel or a drill with a fine diamond point bit. Alternatively search your local beach for shells with natural holes in them.

WE USED:

* shells (pre-drilled or drilled with a fine bit)
* embroidery thread
* embroidery needle
(small enough to pass through the holes in your shells)


Bubble made herself an orange one (her favourite colour) to wear with her fairy costume.

Link

Tuesday, May 17, 2011

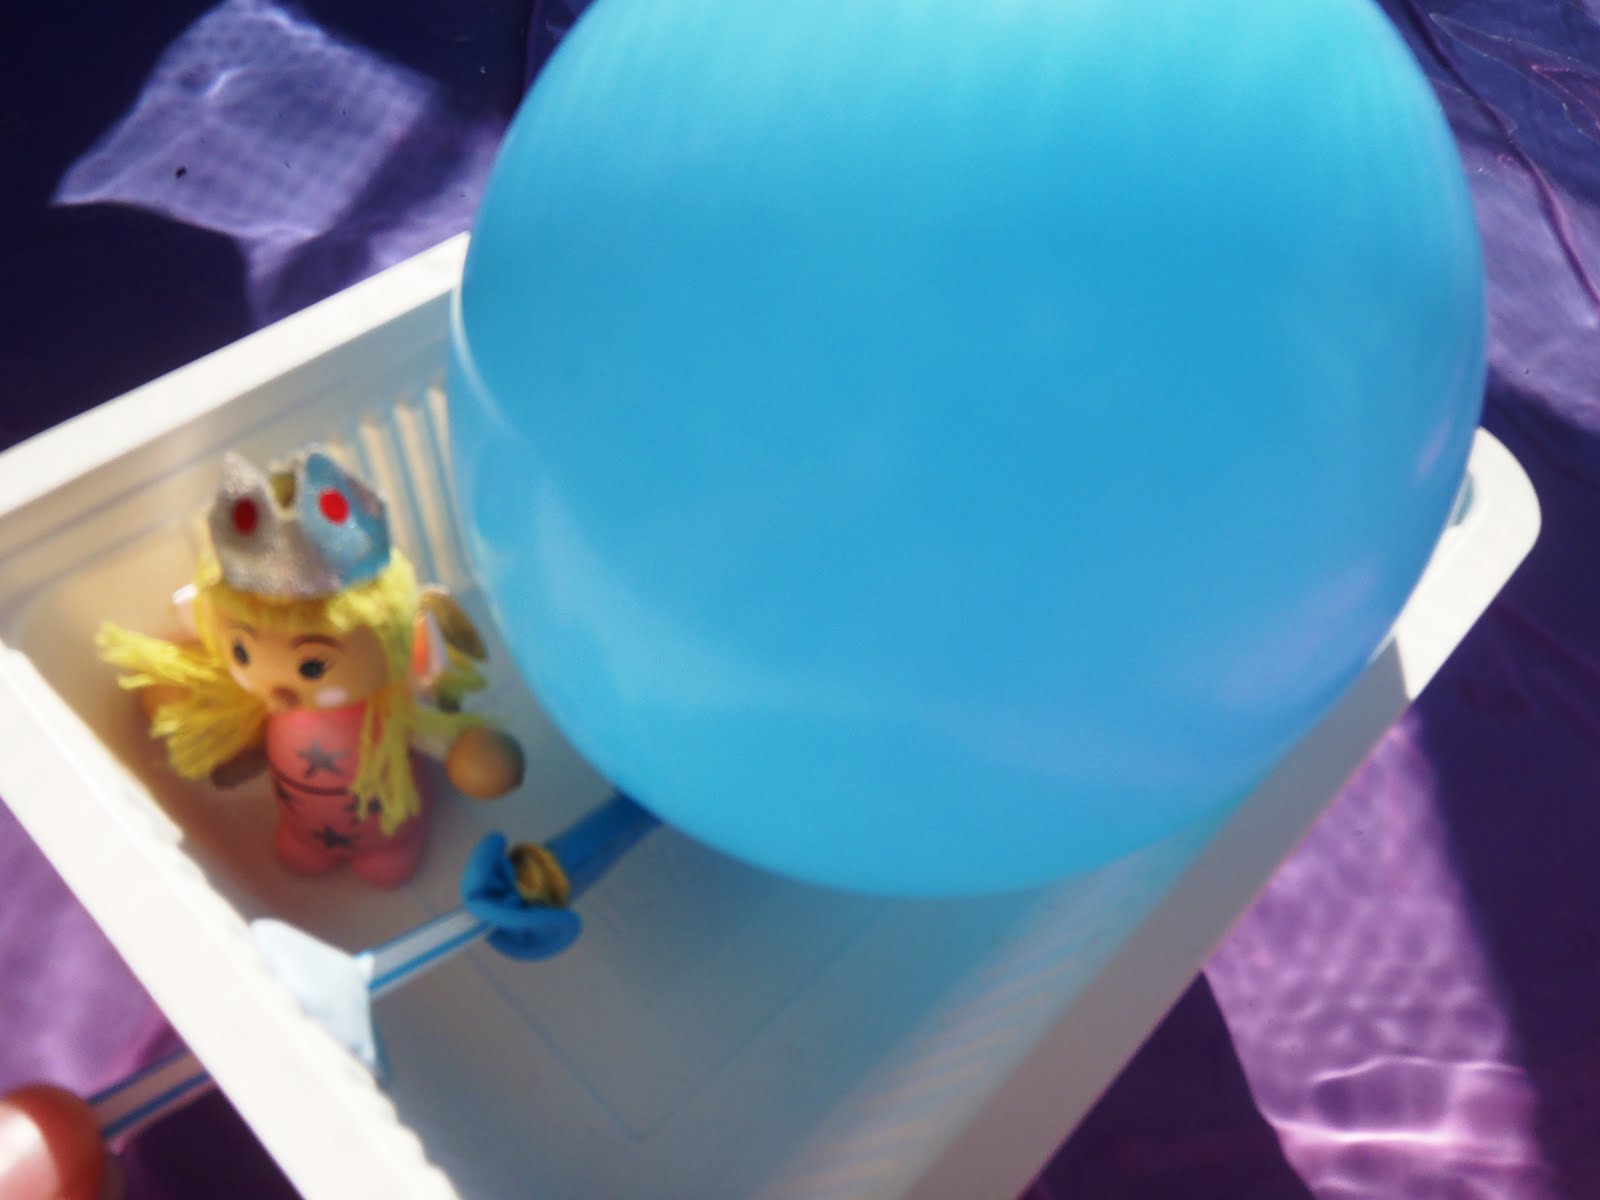
Balloon Powered Boat

I have so many posts to catch up on in here, I'll do my best to get through them over the weekend! We've had two sick little girls with the flu bug so not as much craft action as usual, but these balloon powered boats were a big hit today while we (finally :-D) enjoyed some nice warm weather.

WE USED:

* rectangular plastic container
(we used a cornstarch food container, but an empty margarine/ice cream container would work well too)
* sharp knife/craft knife
* drinking straw
* balloon
* sticky tape
* small elastic band
* scissors
* blu tack/sticky tack


First use your knife to make a small hole in one end of your container just big enough for your straw to fit through.

Cut your straw in half and attach the balloon to one end using sticky tape and the elastic band. It should be secure enough that you can use the straw to blow up the balloon without it leaking around the sides.

Thread your straw through the hole in your 'boat' making sure the balloon end is on the inside.

Use your blu tack to secure the straw on each side so it is watertight. You could also use Plasticine for this.

One balloon powered boat ready for the water!

Using the straw blow up the balloon and then kink or put your finger over the end so the air doesn't escape.

Place your boat in the water, let go of the straw and off it goes :-)

The girls enjoyed racing their boats around the paddling pool.


Monday, March 28, 2011

Picture Tape

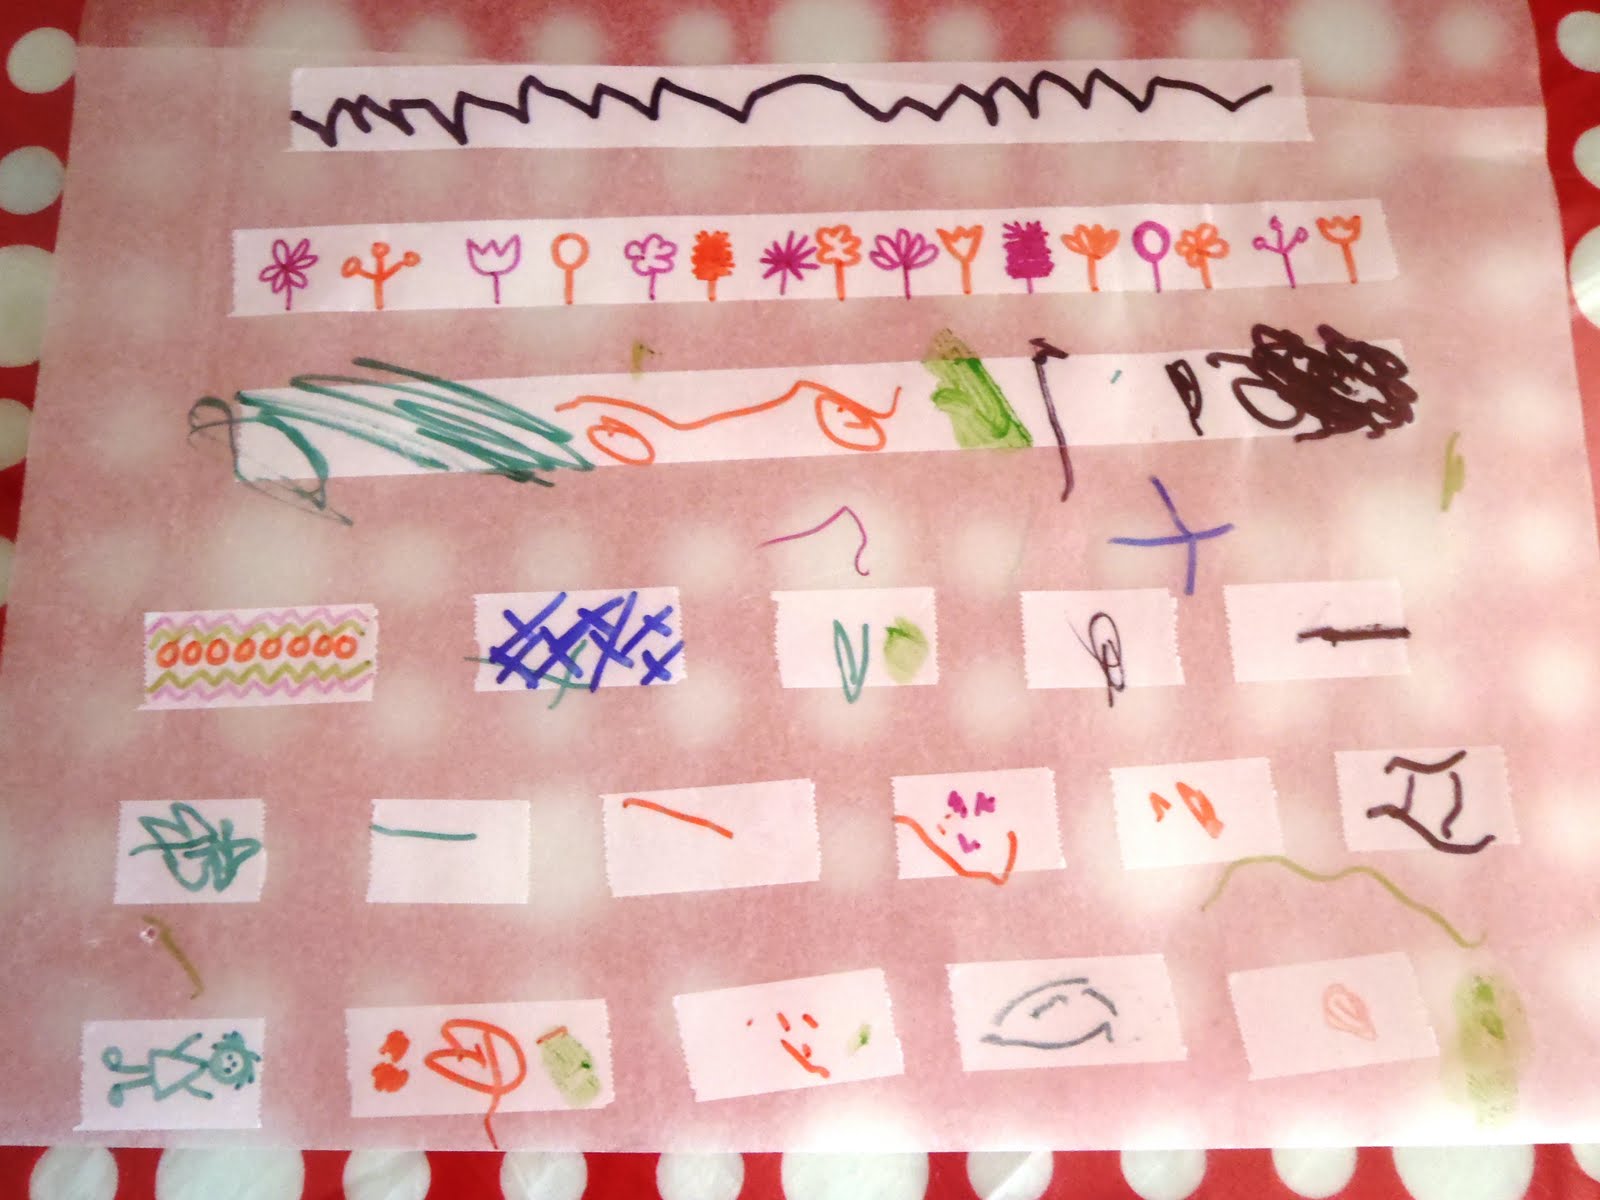
It's birthday season in our house, they are happening all over the place this month and next! Bubble spent an afternoon recently making some 'picture tape' to add her own personal touch to presents and cards. You could also use this technique to create your own stickers!

WE USED:

*
tape
(it has to be the opaque matte type tape, not the transparent shiny kind)
* baking or wax paper
* markers/crayons/pencils

Lay a sheet of baking or wax paper on the work surface (wax side up if using wax paper). Cut your strips of tape as long as you want them and stick them to the paper.

Get decorating!

You now have a sheet of removable tape/stickers to use next time you are wrapping a gift. We have always used our sheets within a few days so I'm not sure how well they would store or how long for.


Best toys for toddlers

“Come over to play at the Childhood 101 We Play link up”

We Play

Sunday, March 27, 2011

Origami Dinosaurs

We didn't make these awesome dinosaurs, they were a beautiful gift to our girls from my brother and sister-in-law on a recent interstate visit to see us. I not only love the fact that they made them something with their own hands but the thought behind it as well (Squeak especially is a big little dinosaur fan!). They look wonderful strung across the girl's bedroom wall and when unhooked they even stand up by themselves - perfect for some imaginary play.


Sunday, January 16, 2011

Rainbow Party Playdate

Bubble had one of her friends over for a play date today and she was very excited about it. I asked her yesterday what she would like to do for the day and she answered with "a rainbow party" (rainbows are a bit of a big deal around here at the moment). At first I was going to say no, parties are for birthdays not for playdates, but then I thought ... well, why not? Not a presents and cake all out type party, but why not put up some decorations, pick a theme and do some special activities?
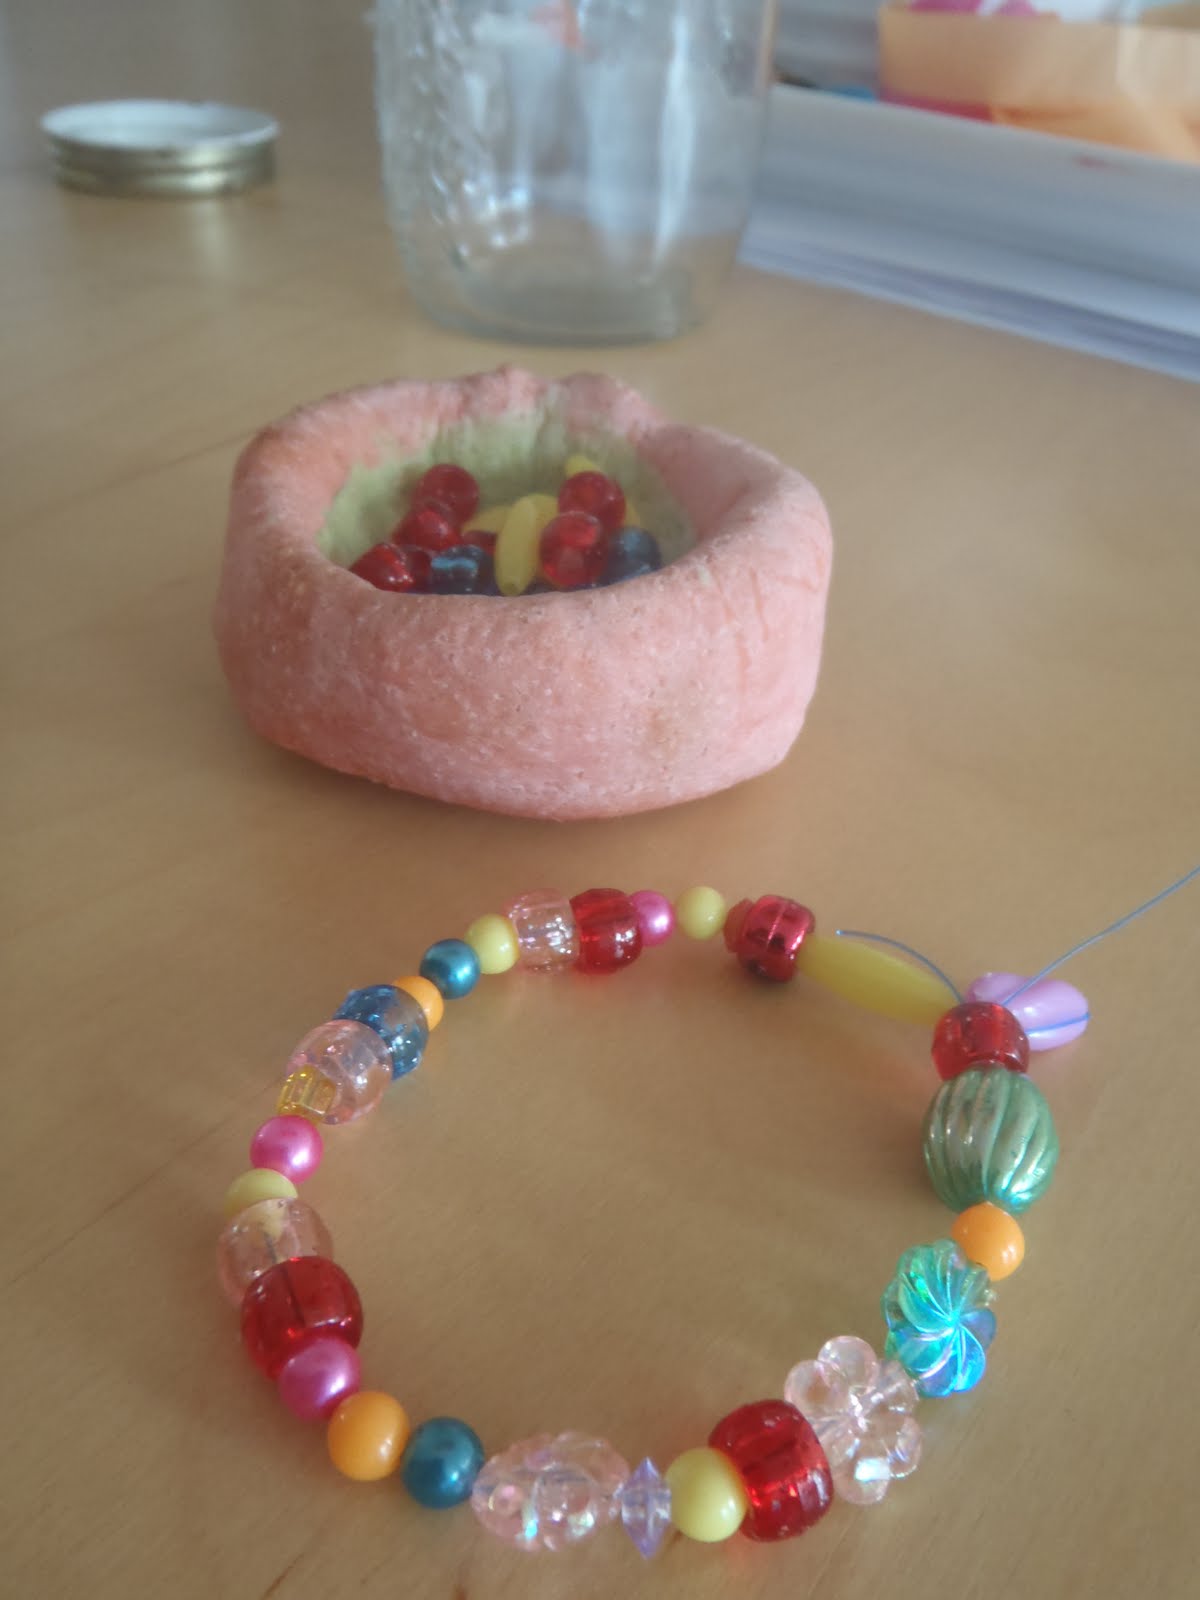
So a rainbow party day is what we had and all three of the girls had an absolute ball. I put up some tissue paper poms that were left over from a BBQ at the park, blew up some coloured balloons and put some rainbow themed activities in the middle of the table. We made coloured salt dough necklaces and colourful bead bracelets, dressed up as butterflies, drank fruit milkshakes and made some rainbow cookies. We then headed to the park and blew bubbles and made some brightly coloured dancing wands. It didn't hurt that the weather today was so beautiful too, just perfect for a happy little rainbow celebration.

These poms are so easy to make and the bright colours were perfect for our rainbow party today.
For instructions on making your own check out this link.


I made up some simple salt dough from this recipe and created some bright colours for the girls to use. We used playdough utensils and skewers for making the necklace holes in the top.

Bubble made a handprint with some of her dough.

One of the baked salt dough necklaces - I overcooked them a tad but they still looked pretty good luckily!


Milkshake time - the girls made their own using colourful fruit, yoghurt and milk.

Yum!

We played a game with some colourful pompoms - using masking tape we made a start and finsh line on the floor. The girls loved using straws to have races blowing them across the tiles.
Game inspired by this post on House Of Baby Piranha.


The girls enjoyed dressing up in wings and jewellery, as well as anything else they could dig out of the dress up boxes!


The balloons were a hit (when are they not :-D).

The girls made colourful bead bracelets while we waited for our cookies to bake.

I followed this recipe to make rainbow cookie dough and the girls created their own colourful masterpieces to bake. They were really yummy!


Chasing bubbles at the park.

I asked the girls to collect a stick each so that we could make some dancing wands. They took their time finding just the 'right one' :-)

We used some reels of ribbon and a pack of colourful clips from the dollar shop to make our wands with.

We simply attached the clips to the end of our sticks and tied the lengths of coloured ribbon to them. Easy and fun!


Bubble taking her rainbow dancing stick for a spin.

Tuesday, December 7, 2010

Plate For Santa

Day 8 of our Count Down today - time to make a special plate for Santa's treats on Christmas Eve. I took the girls to our local Salvation Army op shop and Bubble took her time choosing a white plate that she liked, then we brought it home to decorate. We were going to use ceramic paint but the only ones I could find last week were hideously expensive, so we used permanent markers instead. I'm going to go over the top of it tonight with a clear resin to seal it all in and protect the design, hopefully we can build a little collection of Santa plates over the coming years :-)

WE USED:

* white plate (we got ours from an op shop)
* permanent markers
* clear resin

The plate Bubble chose was lovely and heavy and cost a whole 0.50c


Bubble drawing her Christmas pictures for Santa.

The orange drawing was Squeak's addition - isn't it cute :-) I'm impressed with her straight lines!

The green drawing is a Christmas tree, the round orange circle is a present and the red drawing is Santa - great job girls!