Wednesday, April 6, 2011

Learning About Eggs

With Easter coming up there are eggs everywhere at the moment, so I thought now might be a good time to teach the girls about them. I kept the labels simple since they are both so young, but you could add in the more complex labels quite easily.

WE USED:

* felt (white, cream and yellow)
* scissors
* egg diagrams printed from the net
* laminator
* blu tac

I found a good diagram of an egg on the net and printed it out, then made a 2D version for the girls to assemble using felt.

Bubble especially loved this activity, naming each part (shell, albumen/egg white, yolk) as she put them in the correct order to build her 'egg'.


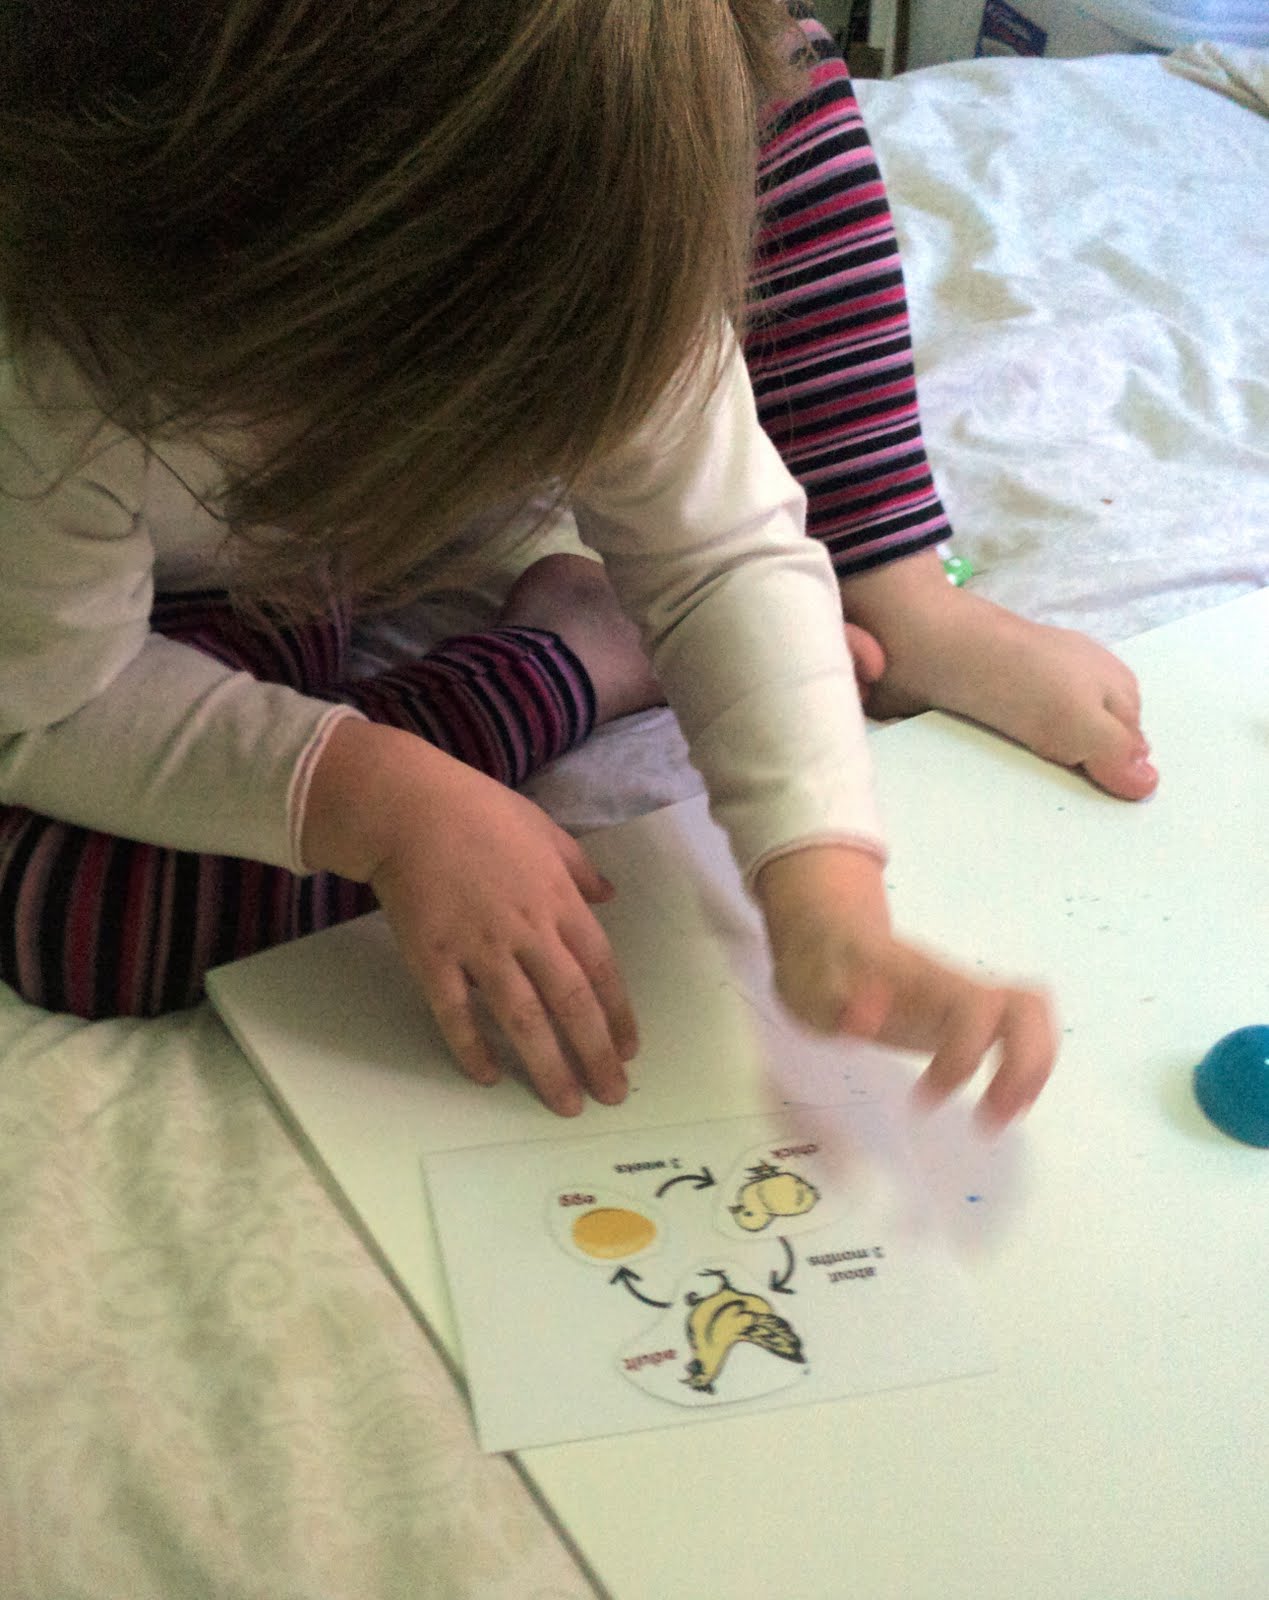
We talked about how chicks develop inside the egg using laminated pictures and charts (also sourced through Google).

A simple matching game of the life cycle of a chicken. Each loose piece has blutac on the back so it can be matched to the chart.
Saturday, April 2, 2011

Glow Stick Hide & Seek

This has been a favourite before bedtime game this last week, and as the days get darker earlier as we head into the cooler months I can only see it getting more popular!
The idea is very simple; we take turns being the hider and the seeker, the seeker being the person who stands outside the door (not peeking ;-D) while the hider hides glow sticks around the room and switches the lights off. The seeker then has to hunt all the glow sticks out of their hiding places.
We count our glow sticks as they are collected and I ask Bubble questions such as "if you have found three glow sticks, how many more do you need to find?" and "how many green sticks have you found now?" to expand on our mathematics skills. We also play a few games using a timer to see who can find the most sticks in one minute during their turn and use lots of preposition hints like "look behind you" or "look on top".

WE USED:

* glow sticks
(we reuse our glow sticks by putting them in the freezer after they have lost their glow and thawing them the next night)
* room of the house
* egg timer

We hid our glow sticks in all sorts of places, some easier to spot than others!

Under large toys so the seeker would have to bend or crouch down to spot them.

Under pillows and cushions.

On chairs and under tables.

Up high on shelves and mirrors.

Bubble hunting out glow sticks armed with her torch. Squeak prefers to hunt around until she finally finds one and then abandons the game to run around waving it frantically in the dark :-D

Thursday, March 31, 2011

Cardboard Tube Car

Recently we came across some things called 'cable clips' at our local dollar shop and I knew exactly what I was going to use them for - making cars out of toilet rolls of course! This was really easy to do and the girls enjoyed playing with the finished product, if you cant find cable clips you could also use plastic wire or split head pins to hold your wheels on.

WE USED:

* cable clips (from the Dollar Shop)
* toilet roll tube
* scissors
* paint
* marker/texta
* 4 x soft plastic bottle lids
* sharp pointed craft knife/safety pin/thick needle/nail

First cut a flap in the side of your toilet roll. This will be where your dolls will sit so make it to size. Leave one end uncut and fold the cut section up so you have a little windshield.

Using your craft knife or needle pierce a hole in the centre of your bottle lids.

These are the 'cable clips' we used to attach our wheels to our cardboard tube car, you could also use pipe cleaners threaded through and folded over, plastic coated wire (the type used for gardening) or split head pins.

Our finished product - so cute!

Princess doll going for a ride in her new wheels.


Squeak got to play with this first while Bubble was at Kindy and enjoyed herself immensely. She was too little to be left unsupervised though in case she worked out how to remove the cable clips!


I love where the knight ended up...

Hehe :-D Luckily our car has a roomy boot.

Monday, March 28, 2011

Collecting Rain

The sunny days have been interspersed with rainy windy days here lately so the girls have been cooped up indoors more than usual. They both enjoy going out in their jackets and gumboots to stomp in puddles (who doesn't?!) but other than that the rain is cramping their style a little.
The other day we made a 'rain collector' which kept them happy for awhile, they stood out on the balcony collecting and drinking the rain the could catch as it fell from the sky.

WE USED:

* plastic bowl
* broom handle
(you could also use a stick or plank of wood)
* strong tape
* a rainy day!


Picture Tape

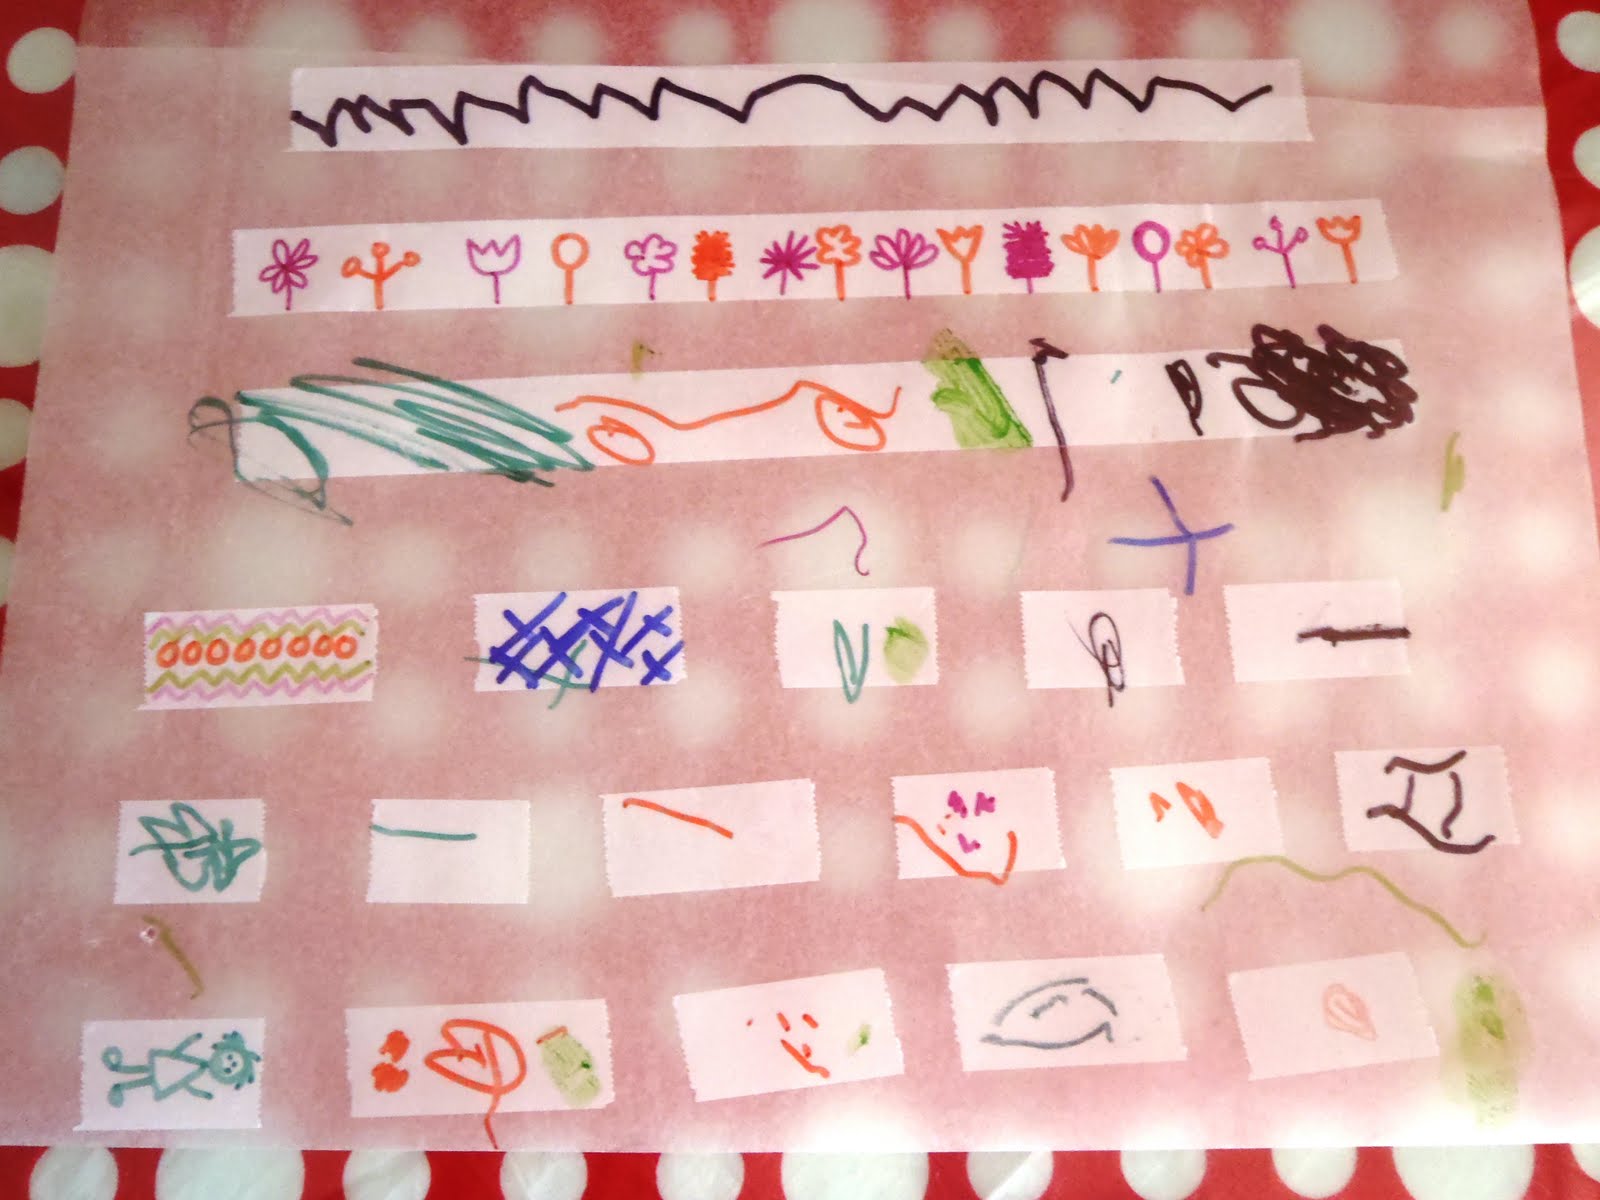
It's birthday season in our house, they are happening all over the place this month and next! Bubble spent an afternoon recently making some 'picture tape' to add her own personal touch to presents and cards. You could also use this technique to create your own stickers!

WE USED:

*
tape
(it has to be the opaque matte type tape, not the transparent shiny kind)
* baking or wax paper
* markers/crayons/pencils

Lay a sheet of baking or wax paper on the work surface (wax side up if using wax paper). Cut your strips of tape as long as you want them and stick them to the paper.

Get decorating!

You now have a sheet of removable tape/stickers to use next time you are wrapping a gift. We have always used our sheets within a few days so I'm not sure how well they would store or how long for.


Best toys for toddlers

“Come over to play at the Childhood 101 We Play link up”

We Play

Sunday, March 27, 2011

Magnetic Tree

Quite awhile ago we made these magnetic felt shapes to display and play with on our fridge. They have been getting a bit old and boring so today we created something a bit different to make the fridge front interesting again.
We re purposed our painted leaves from the sorting activity we made recently and some sticks collected on a walk through our local park to make something simple but fun.

WE USED:

* magnets
(for the leaves we used advertisement magnets collected from junk mail and cut into strips, and for the sticks we bought a pack of 6 stronger magnets from our local dollar shop).
* craft glue
* sticks
* leaves
* paint

Using glue we attached magnets to the reverse side of our painted leaves. Try to choose leaves that are either flat or curl forward, ones that curve back wont stick very well unless you are using strong magnets.

We attached our larger magnets to our sticks using plenty of glue (a hot glue gun would work best).

Bubble loved creating trees on the fridge with her new 'toy'. The combinations are endless, you could use all sorts of sticks in different shapes and sizes and a variety of leaves as well.
Maybe you could create a magnetic version of the leaf matching tree we made last year.

As an added bonus it also looks good and brightens up the kitchen.
Best toys for toddlers

We Play


“Come over to play at the Childhood 101 We Play link up”

Origami Dinosaurs

We didn't make these awesome dinosaurs, they were a beautiful gift to our girls from my brother and sister-in-law on a recent interstate visit to see us. I not only love the fact that they made them something with their own hands but the thought behind it as well (Squeak especially is a big little dinosaur fan!). They look wonderful strung across the girl's bedroom wall and when unhooked they even stand up by themselves - perfect for some imaginary play.