Showing posts with label Letter N. Show all posts

Thursday, May 26, 2011

Nocturnal and Diurnal Animals

At night as it is getting dark the girls and I often lay out on the trampoline watching the bats flying overhead. They are fascinated that some animals are just waking up and heading out when they (and other animals, like the birds we see settling in to the trees) are about to go to sleep.
Today we used the animal pictures from our Spot Light Game to learn about nocturnal and diurnal animals, and some that are both!

WE USED:

* animal pictures
* cardboard
(we cut and folded out a medium size postal box)
* paint or coloured paper
(black, yellow, grey)
* paper
* textas/markers
* scissors

First we cut and opened up a medium sized postal box, then painted one side yellow (for daytime) and the other black (for night time). The centre strip we painted grey to represent the animals who are both nocturnal and diurnal.

I used markers to make some simple explanation cards.


One by one we sorted the pictures; I would tell the girls when each animal was awake and they would put them on the nocturnal or diurnal side (or in the centre).
Squeak was fascinated by the bilby picture :-)


I'd love to do this activity again with a wider range of animals, particularly a bat which Bubble was very disappointed we didn't have!

Best toys for toddlers


Monday, December 6, 2010

Clay Necklace - Teacher Gift

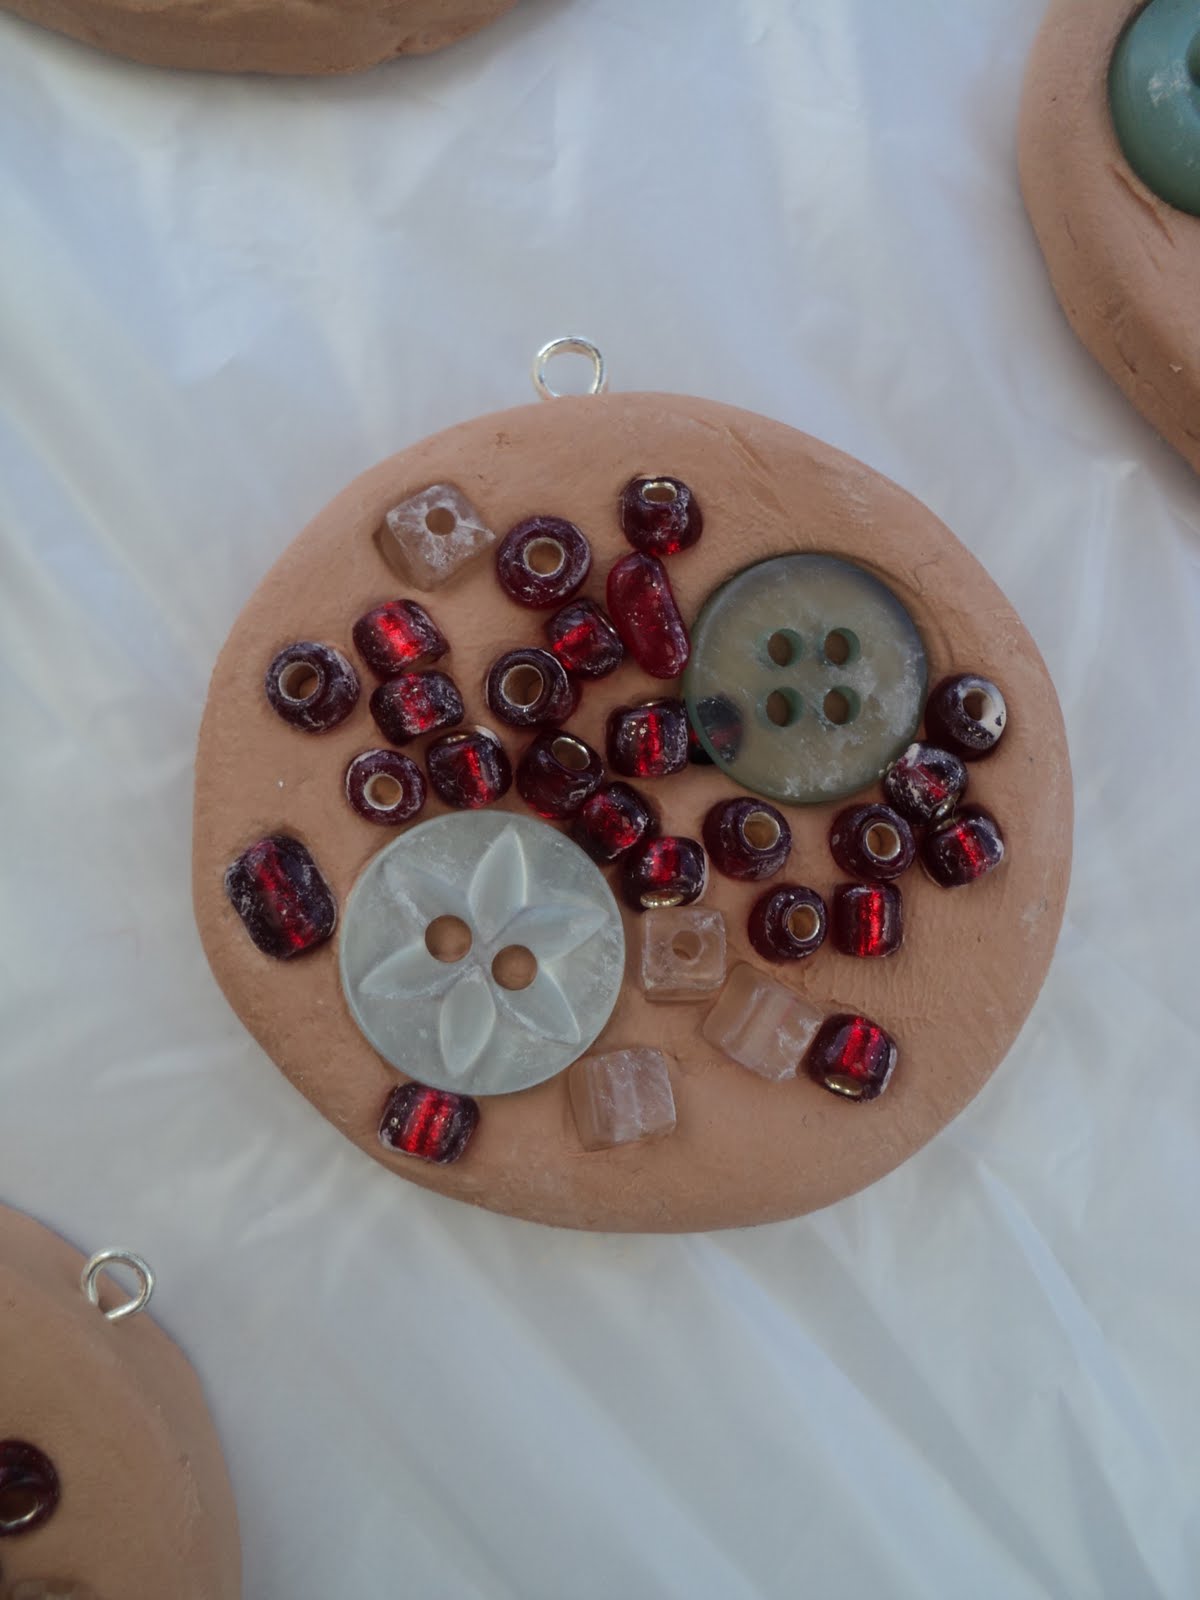
It's already day 7 of our Christmas Count Down, I'm so excited at how quickly Christmas is on it's way. Today we made a gift for each of Bubble's teachers, I wasn't sure how they would turn out but Bubble did such an amazing job that we ended up making five necklace pendants, a few extras for the Grandmas in the family :-)

WE USED:

* air drying clay
* jewellery findings
* beads/buttons etc...
* small circular cutter (we used a mini flower pot)
* water (small bowl)
* placemat, craft mat or chopping board
* spatula/flat knife or similar (we used a playdough spatula tool)
* wax paper
*
clear varnish

Working on craft mats I rolled some clay out and Bubble cut round shapes using the top of a mini flower pot. After wetting my fingertips with water I then smoothed and rounded them and laid them on wax paper.

You could use any kind of finding attachment you like but we were using these ones pictured above (no idea what the proper term is, sorry!). I slid the findings into the pendants careful not to pierce either side, leaving the ring exposed so it can be hung on the necklace later.

We set up our workplace with mats for working the clay and wax paper sheets to lay them on while Bubble decorated them. We kept a small cup of water near the mats so we could keep our fingers and the clay wet.


Bubble's clay pendant creations - I love them! We will leave them to dry for at least 12 hours on each side before coating them a few times in clear varnish to finish them properly. They will then be hung on necklace strands using jewellery loops.
I will post an update when they are all finished and ready to go.


Thursday, September 30, 2010

Bottle Lid Necklace (threading)

This activity was a big hit this afternoon, easy to make and set up and great for fine motor and co ordination development.

WE USED:

* milk bottle lids
* glue
* coloured pictures (we used old sticker books)
* scissors
* pen
* craft or paring knife
* pipecleaners
* thread/wool/string
* childsafe needle
* drinking straws

We used the covers of old sticker books for our pictures, but anything colourful like scrapbook or wrapping paper will work. The thicker the paper the better though. Use the lids to trace circles onto the pictures so that when they are cut out they fit inside perfectly.

Using your knife make a small hole in the side of each lid. Apply glue to the back of your pictures and secure inside the lids, making sure that the spot where you made the hole is at the top (this is where the pendant will be hung from). Some of our lids had bits inside preventing the pictures from being glued flat, but we found they pushed inside and stuck without being glued because of the ridges on the inner part of the lid.

I was very amused to see that out of all the pictures our maths loving Bubble chose the abacus as her favourite one :-D

Cut your pipecleaner into short lengths, then push an end through the hole in the side of your lid and twist closed (making sure to tuck in any sharp bits).


Cut your drinking straws into short lengths for threading.

You might like to tie the thread to your child's needle so that it doesnt come loose.

Bubble making her straw necklace.

If you cant find a child safe needle they are easy to make using pipe cleaners. Make a loop at one end of a cut pipecleaner and tie on your thread, then squash it to fit through your straws.

Our straw and milk bottle lid necklaces - beautiful!

Come play at the Childhood 101 We Play link up
We Play