Showing posts with label Craft Activities. Show all posts

Saturday, June 4, 2011

Magnifier Discovery Board

Both of our girls are in love with their magnifying glasses at the moment, we bought them about a month ago and they've been getting a daily workout ever since. At Bubble's kindy they have a great 'discovery board' toy which consists of a wooden tray with holes cut into it and tiny specimens for the kids to look at with their magnifiers. There is a sheet of perspex bolted over the top to keep all the little things inside.
I thought it was genius and wondered if we could make something similar ourselves where the things inside could be changed around regularly. It took awhile to find some cheap petri dishes but our discovery board turned out pretty well and I'm really looking forward to changing the items inside it every few weeks to fit with whatever theme it is we are learning about.

WE USED:

* an old wooden puzzle board
(you could also use wooden board cut to size, a chopping board, a wooden tray etc...)
* a pack of plastic petri dishes
(we sourced ours from Ebay)
* adhesive
(we used clear Liquid Nails, but any strong glue would do the trick)
* small items of interest
* magnifying glass

For the base of our discovery board I used the reverse side of a large wooden puzzle that had lost some pieces.
(see HERE for what we did with the remaining pieces)

Using clear Liquid Nails (any strong glue would work, that was just what I had on hand) I attached as many of the petri dish bases to the board as I could fit.
Once the glue was dry (overnight) I filled each one with something interesting for the girls to examine and replaced the dish lids over the top.

Newsprint and old keys.

Pencil shavings and seed beads.

A piece of clay with an imprint and a swatch of interesting fabric.

Some coloured buttons and the insides from a broken kaleidoscope toy (I knew I held onto this stuff for a reason :-D).

A circle cut from one of the girls magazines.


Bubble examining the items in the discovery board.

Other ideas for discovery boards:

Natural items : leaves (skeleton leaves especially would look great), seeds, seed pods, flowers, dead insects like bugs or butterflies, soil samples, gravel/stones, bark samples, grass blades.

Colours or shapes: small beads, felt or fabric discs, sequins, play dough or clay shapes, miniature items of certain shapes (bottle lids, buttons, stamps etc...), glitter, coloured sand, confetti.

Textures: Fabric samples like hessian, satin, velvet etc..., netting (fruit bags or stockings), course sandpaper, recycled paper, carpet swatches, ash, smooth gemstones, clay, rough and smooth tree bark.

Best toys for toddlers


We Play


abc button

Friday, June 3, 2011

Threading Leaves

After all the rainy weather we've had here lately we took advantage of the clear day today and headed out to a reserve. This particular parkland is under the flight path of the planes coming in to land at the domestic airport so the girls had a ball running around, having a picnic lunch, playing on the swings and watching the planes flying low overhead.
We also had some quiet time sitting on the grass making leaf necklaces, both girls spent ages hunting around for leaves they liked and they were able to thread them easily using 'safe' plastic needles.

WE USED:

* leaves and flowers
* child safe needle
* embroidery thread
* scissors

The leaves the girls collected from the reserve.

I tied the embroidery thread to their needles so it wouldn't come loose while they made their necklaces.

The threading was great exercise for fine motor development but I also loved watching the girls exploring the textures, shapes and colours of all of the natural things they found.


Bubble's finished necklace. I tried to get a photo of Squeak's which had a flower on it but they all came out too blurry, she's too fast for me! :-D


abc button

Saturday, May 21, 2011

Shell Necklaces

Bubble spent yesterday making some simple shell necklaces for her friends, she had so much fun picking out colours for each one and practicing tying her knots.
We used pre-drilled shells but they are easy to make if you have a Dremel or a drill with a fine diamond point bit. Alternatively search your local beach for shells with natural holes in them.

WE USED:

* shells (pre-drilled or drilled with a fine bit)
* embroidery thread
* embroidery needle
(small enough to pass through the holes in your shells)


Bubble made herself an orange one (her favourite colour) to wear with her fairy costume.

Link

Tuesday, May 17, 2011

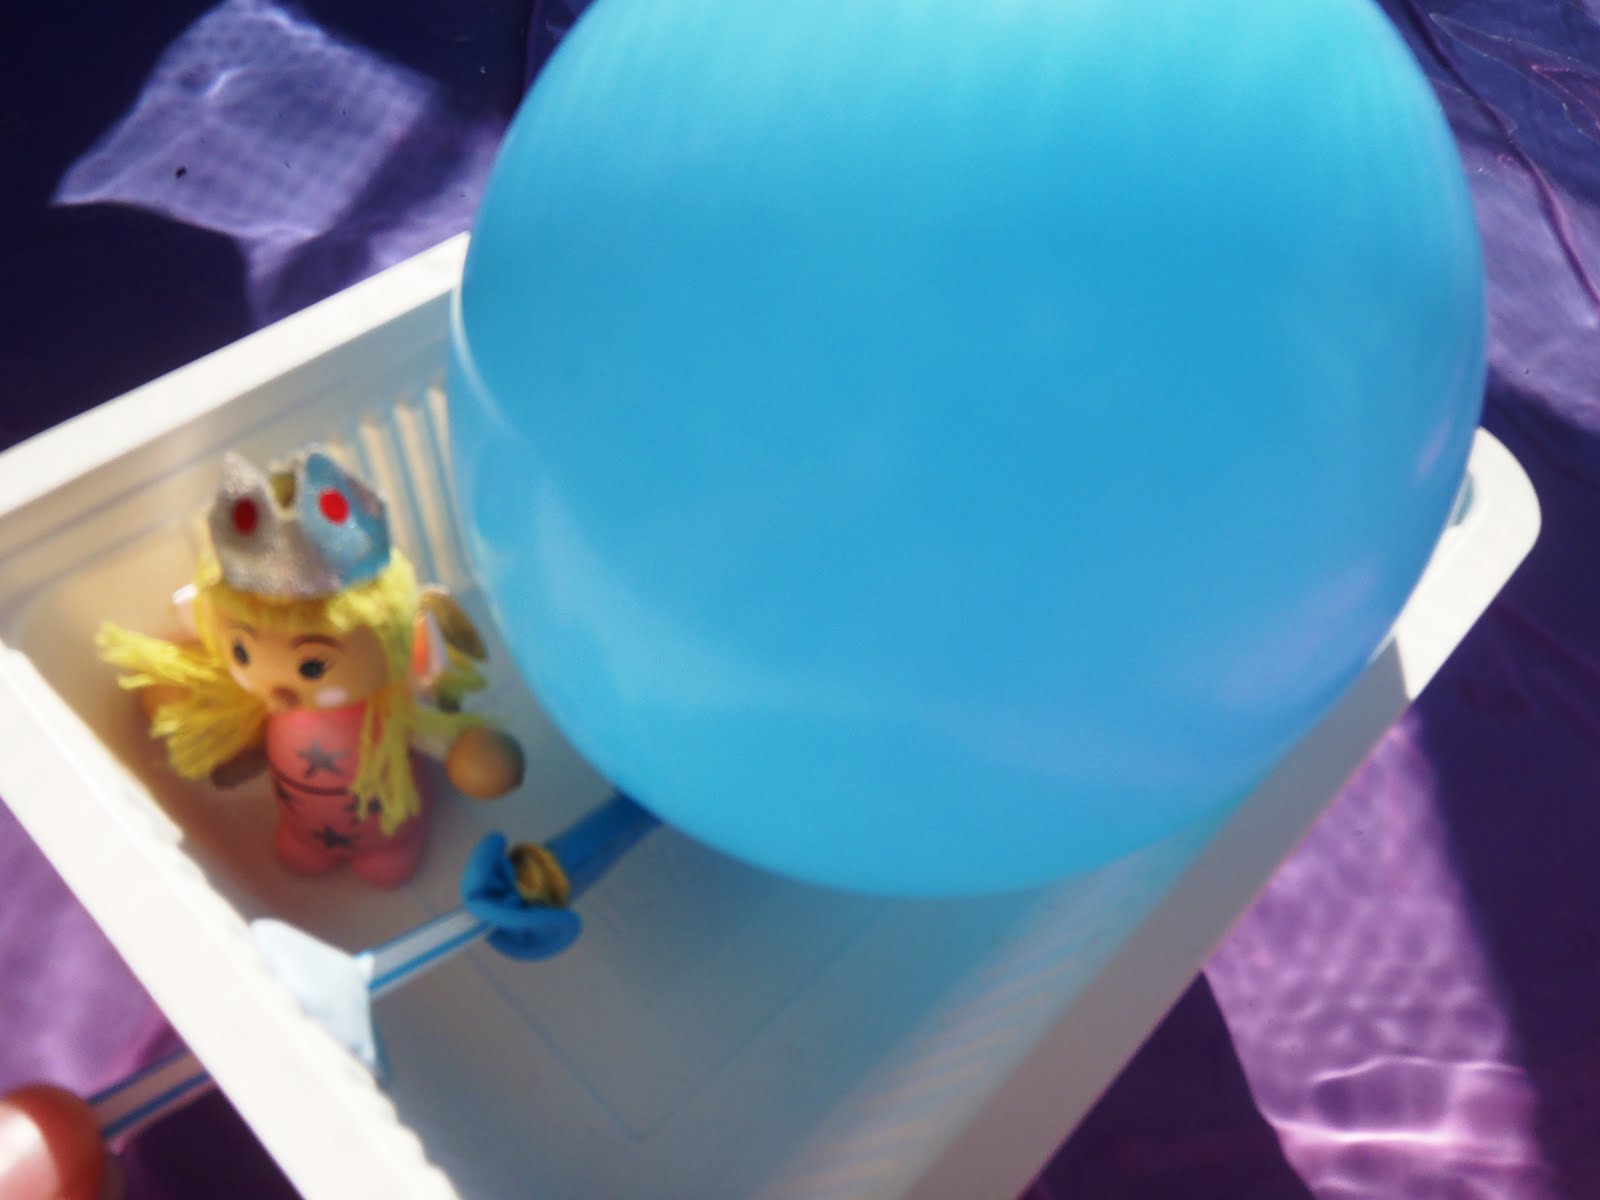
Balloon Powered Boat

I have so many posts to catch up on in here, I'll do my best to get through them over the weekend! We've had two sick little girls with the flu bug so not as much craft action as usual, but these balloon powered boats were a big hit today while we (finally :-D) enjoyed some nice warm weather.

WE USED:

* rectangular plastic container
(we used a cornstarch food container, but an empty margarine/ice cream container would work well too)
* sharp knife/craft knife
* drinking straw
* balloon
* sticky tape
* small elastic band
* scissors
* blu tack/sticky tack


First use your knife to make a small hole in one end of your container just big enough for your straw to fit through.

Cut your straw in half and attach the balloon to one end using sticky tape and the elastic band. It should be secure enough that you can use the straw to blow up the balloon without it leaking around the sides.

Thread your straw through the hole in your 'boat' making sure the balloon end is on the inside.

Use your blu tack to secure the straw on each side so it is watertight. You could also use Plasticine for this.

One balloon powered boat ready for the water!

Using the straw blow up the balloon and then kink or put your finger over the end so the air doesn't escape.

Place your boat in the water, let go of the straw and off it goes :-)

The girls enjoyed racing their boats around the paddling pool.


Friday, May 6, 2011

Animals With Spots And Stripes

We have half a container of cotton buds to use in our craft projects after Squeak decorated the bathroom floor with them recently, so today we used some for painting with. We have used them for unstructured painting before but this time we did something a little more structured and talked about animals with stripes and spots.

WE USED:


* paper
* lead pencil
* black marker/texta
* paint
(we used orange, yellow, brown and black)
* cotton buds

To make the animal pictures minus their stripes and spots I found images on the net and then traced them straight off the screen onto my paper using a lead pencil (be careful not to press too hard against the screen). It was easy to trace what I needed onto my page and omit what I didn't need, then later I went over the pictures with black marker.

We used yellow, brown, orange and black paint to suit the animals we were using.

Some animals Bubble knew the colours and patterns of, but others like the Dalmatian dog weren't familiar to her so we looked them up on the Internet and chatted about what markings they had.