Friday, December 6, 2013

Christmas Class Gift - Animal Bags

Little Squeak has quite a big preschool class with over 30 kids. For Christmas we wanted to make her friends something fun but also cost effective. 
These little gift bags ended up costing us only $11 to make 40 of them and include a little bit of Christmas fun for everyone.

WE USED:

* wild animal figurines
(we bought ours at BigW where they are $1 for a bag of 8 animals)
* Christmas stickers
(we bought ours at the Reject Shop, we only needed one $2 pack to do all 40 bags and still had plenty of stickers left over)
* small chocolate Santas
(you don't have to include these of course, there are plenty of alternatives like a balloon, crayon, small Christmas tree decoration etc...)
* clear gift bags
(we already had these but you can buy them at most dollar shops for around $1-$2/pack)
* Animal bag toppers and stapler
(the toppers we used are included as a printable at the bottom of the post)

Please note: this post is not sponsored in any way, all companies listed are genuinely where we bought our supplies and only mentioned so you can find these items too!

The contents of our gift bags.
The wild animal figurines are from BigW, in their dollar section they have bags of 8 for $1, so we used 5 bags.
The stickers are from the Reject Shop, there are 40 large stickers on the back sheet which we cut out and we still had 60 smaller stickers left over.
The chocolate Santas are from Coles, a big bag is $4.


In each gift bag we put an animal figurine, a chocolate Santa and a Christmas sticker, then we folded the tops down and stapled our bag toppers on.
In the photos you can see the front and back of the topper once it is folded in half (the giraffe side becomes the front and the elephant side becomes the back).
I have blurred Squeak's real name for the Blog but on the printables below have just left a space so you can put in your own child's name.

Wild Animal Bag Topper in 6x4 photo size:
(right click to open and save in a separate tab)


Wild Animal Bag Topper in A4 page size:
(right click to open and save in a separate tab)


Tuesday, November 26, 2013

Christmas Beads Advent Calendar


The 1st of December is rapidly approaching and the girls are very excited to start digging out their Advent Calendars ready to hang on the wall.
This year we will be reusing our felt circle Christmas Tree Advent that we made years ago, the kids love it and it has become a Christmas tradition for us to hang it up every year.
Previous years we have also had a: 
 This year I wanted to come up with another reusable advent calendar that I could change up each December.
I decided to create a count down where the girls could collect different Christmas beads each day, eventually creating a necklace they could wear on Christmas Day or hang on our tree as a decoration.
It was easy and inexpensive to make and a little bit different!
Bring on December.

WE USED:
* Christmas beads
* plastic shot glasses
(we bought packs of 40 for $1.50 at Hot Dollar)
* tissue paper
* washi tape or sticky tape
* scissors
* glue gun or craft glue
* string 
(we buy our red and white twine from Sammy&Lola)
* craft knife
* a backing board
(we used corflute from Bunnings but you could use cardboard or anything else you have on hand)

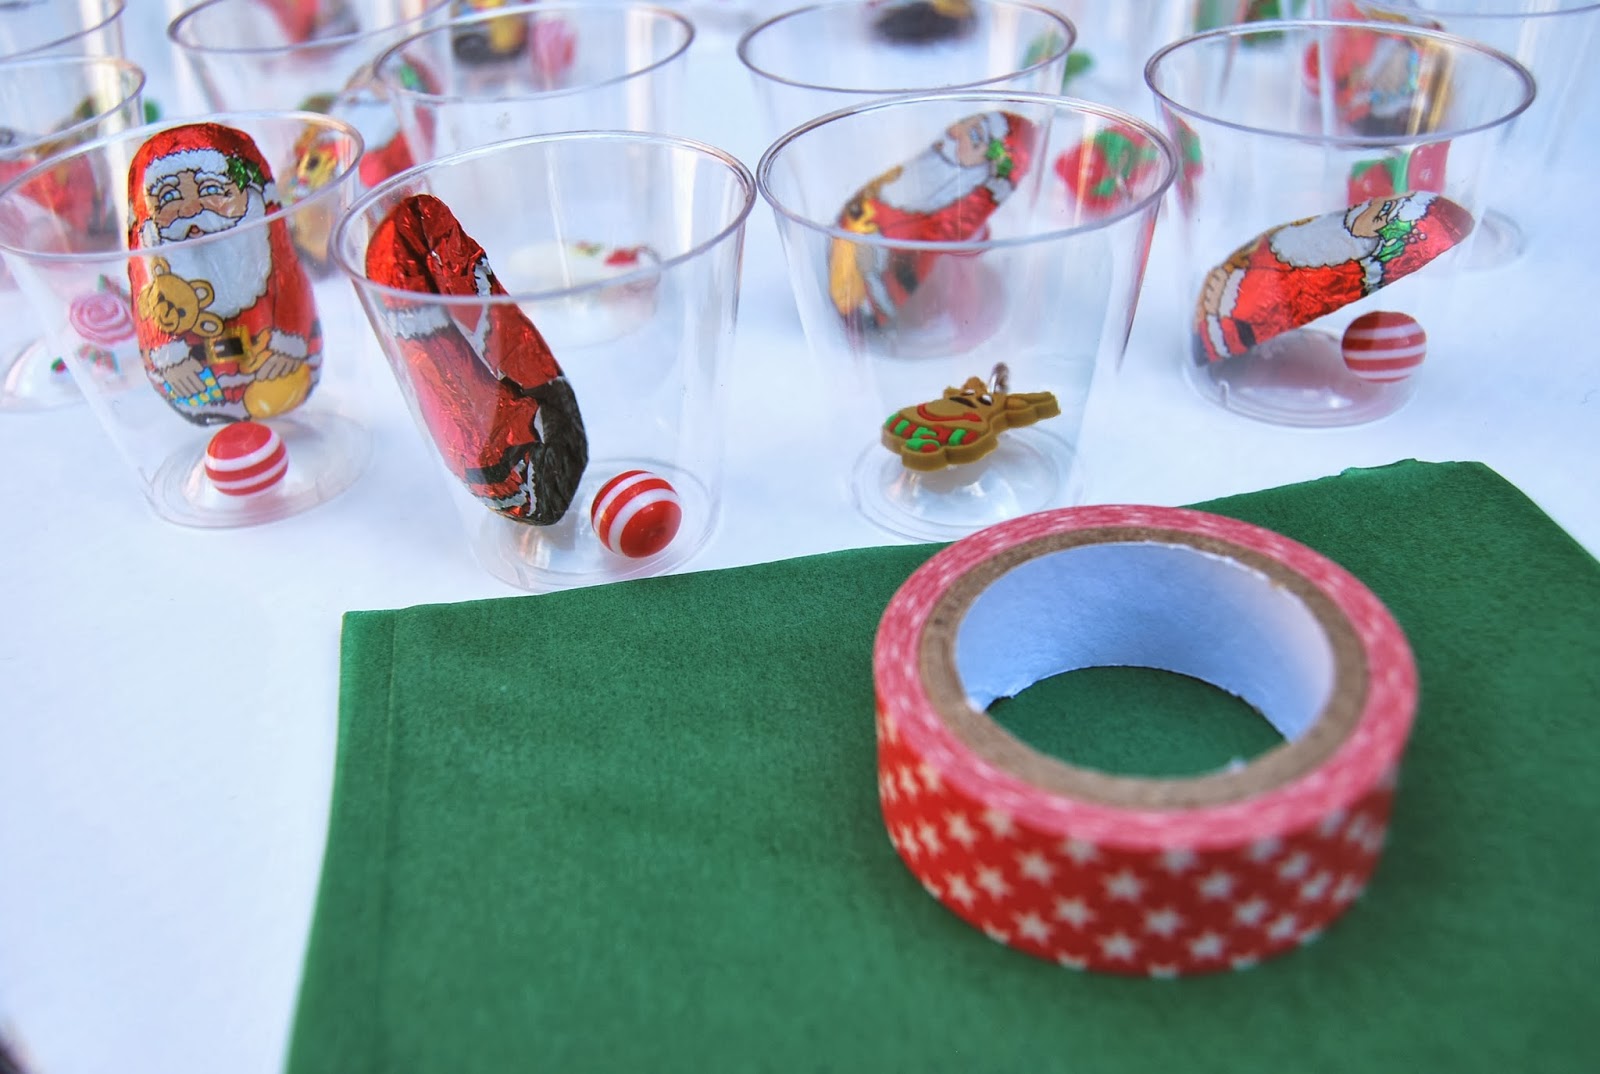
Gather up your plastic shot glasses, beads and whatever else you want to put inside your advent calendar.

I struggled to find large Christmas beads that were inexpensive so I ended up buying packs of wine charms ($1.50 for 6 at Hot Dollar) and using wire cutters to snip the rings and remove the charms.

The beads were perfect and very cheap when sourced this way. For each calendar I used 12 of the large beads and also 12 smaller round beads which I bought in bulk on Ebay.

Spread out 24 of your shot glasses and add a Christmas bead to each one. 
You can add other things too of course, I popped in the occasional chocolate Santa!

Cut your tissue paper into small squares and cover each shot glass using your tape to secure it. I thought this part was going to be quite tedious but surprisingly it took next to no time to do.

Once your glasses are covered arrange them on your backing board in whatever configuration you like.
I decided to make a wreath shape and cut some green cardboard to go underneath to add some more definition and colour.

Using your glue gun attach each glass to your board. It only took a few dabs of glue on the underside of each one to secure them well.

I used our washi tape around the edges of our boards to give them a nicer more finished look then used some of our letter stickers to decorate them a little more.
Using your craft knife make small holes in each corner and thread through your string/twine so the calendar can be hung up.

I decided not to number the cups but to let the girls choose which ones they opened each day. Instead I attached a vinyl blackboard sticker to one corner where they could keep count of how many days were left to go.

 
The finished calendar.
Each day of December the girls can punch through the tissue paper covering one glass and find the bead inside to add to their Christmas necklace.

This calendar can easily be reused next year by recovering the glasses again.

We have made two of these calendars so they can have them in their rooms if they want to, you could use one board for multiple children though and just add more beads to each glass.

We added a small hook to one side of our calendars to hold some twine. The girls can add their bead each day and then hang it on the hook until their necklace is finished on Christmas Eve.

A beautiful necklace to wear on Christmas Day and a fun way to count down the month of December!

Saturday, October 19, 2013

Learning About Community Helpers

We are experiencing terrible fires here in NSW at the moment, at one stage late last week there were more than 100 blazes across our state. The fires are still burning now, some uncontained, while our fire services work tirelessly in awful weather conditions to save homes, wildlife and people.
Photos from the front lines of these fires are terrifying and yet there are hundreds and hundreds of fire crew right there, plenty of whom are volunteers, risking their lives to do what they can.
Community helpers are important.
Fire services, paramedics, police officers, SES - there are so many different types of people in our communities and teaching our girls about their role is something we have been focusing on for the last year.
There are many ways children can learn about the helpers in their community:
* role play - using dress ups, dolls, puppets and props to learn about what community helpers do.
* borrow library books from your local library, focus on one community service area a week and learn all you can about them.
* use photos from the net or take them yourself so that children can learn the different uniforms, workplaces and roles of people in their community.
* learning symbols and signs - ambulances, local Police, fire stations, postal services - they all have their own emblems and logos that children can learn.
The main tool we have been using to teach our girls about the role of community helpers has been to visit these work places and meet the people who do these jobs.
We taught the girls about Fire and Rescue services last year and they decided they wanted to make pictures to say thank you to the fire fighters. 


We took their thank you messages and a box of cupcakes down to our local fire station and not only did they get to tell the firemen on duty "thank you" in person, they were welcomed inside the station, got to sit inside a fire truck and even got to man a fire hose. 
They chatted to the fire men and got to see their uniforms, their workplace, their safety equipment, their truck and were given show bags full of information on how to stay safe.
It was a wonderful experience for our girls and also, I realised, for the firemen. We have decided to make it a yearly trip to visit some of our local service centers to say thank you and show our appreciation. 


Ideas for visiting a local community service provider:
* call ahead. Some work places are suitable for children and some aren't. Some places are open at all times, and some are open temporarily. And of course the last thing you want to do is be in the way, so phoning ahead is always a good idea.
* send thank you messages and pictures through the mail or by email.
* get the whole class/family/school involved in thanking and learning about different community helpers.
*get the kids to think about what they would like to know or find out during their visit.
* make a donation or ask how you can help/be involved.


Friday, August 30, 2013

I Spy Book Costume

 Recently Bubble had Book Week at school and needed a costume for the Book Fair Parade. I asked her which book she would like to be and she answered me right away with her all time favourite series;
"I want to be an I Spy book!"
I Spy books don't really have any characters, just a bunch of random objects on each page and a list of things to find. The costume ended up being very easy to make and Bubble loved it so much she wants to wear it again for Halloween - double score!

WE USED:
* plain white t-shirt
(I bought ours at KMart for $2)
* random small objects
(we went through all of our drawers and toy boxes for small parts we didn't need any more, it was a great recycling project)
* hot glue gun 
* laundry marker
(we used Sharpie brand)
* old chopping board, thick card or something you can use as a barrier between the shirt layers. It must be something that can withstand the hot glue.

 First, I ironed our plain t-shirt and then slid an old glass chopping board inside it, between the front and back of the shirt. This was to stop the glue seeping through and joining them together!

It took me about ten minutes to attach the objects we had collected to the front of the shirt using the hot glue gun.
I would advise doing this activity in a well ventilated area as some objects were a bit stinky when the hot glue was applied.
Some of our objects got stuck to the glass chopping board through the t-shirt but they were very easily removed using a spatula and stayed attached to the shirt.

Using a laundry marker I wrote out a list of things for people to search for on the front of the shirt. This was a big hit, Bubble's friends really enjoyed finding all of the items.

To finish off her costume we found a detectives hat in the dress up section of a dollar shop and used foam stickers to write 'I Spy' across the front. I also hot glued a mini magnifying glass to the front which was a left over party favour.
Bubble carried her full sized magnifying glass for the parade and wore some pretend glasses because she wanted to look 'scientific' :)
The outfit came together really well and all of the objects stayed put for the whole day. I did put another shirt on underneath her I Spy one though so she could take it off during class, all of those little bits and pieces would have been a bit distracting!

Thursday, August 29, 2013

Father's Day Gift Idea - Interview Cushion Cover


 I have been wracking my brain for a few weeks now trying to think of a gift idea for my Dad for Father's Day.
Unfortunately we live in another state to 'Poppy' so it had to be something that could be sent easily by mail. I also wanted it to be something personal from the girls, as well as something he could use.
Obviously he will love anything our girls make for him, but I wanted something he could use day to day rather than something that would end up in a drawer or cupboard.
I have seen a lot of ideas for 'interviews' on Pinterest and loved the idea, this free printable from A Little Delightful was one of my favourites and the inspiration for some of our questions:
A Little Delightful : Father's Day Printables
Instead of putting our interview on paper though I thought I would put it on something that could be kept around the house and used. 
A cushion was the perfect solution!

WE USED:

* fabric cushion cover
* laundry marker
(we used Sharpie brand)
* scrap paper or cardboard

We started with a cushion cover which was blank on one side. 
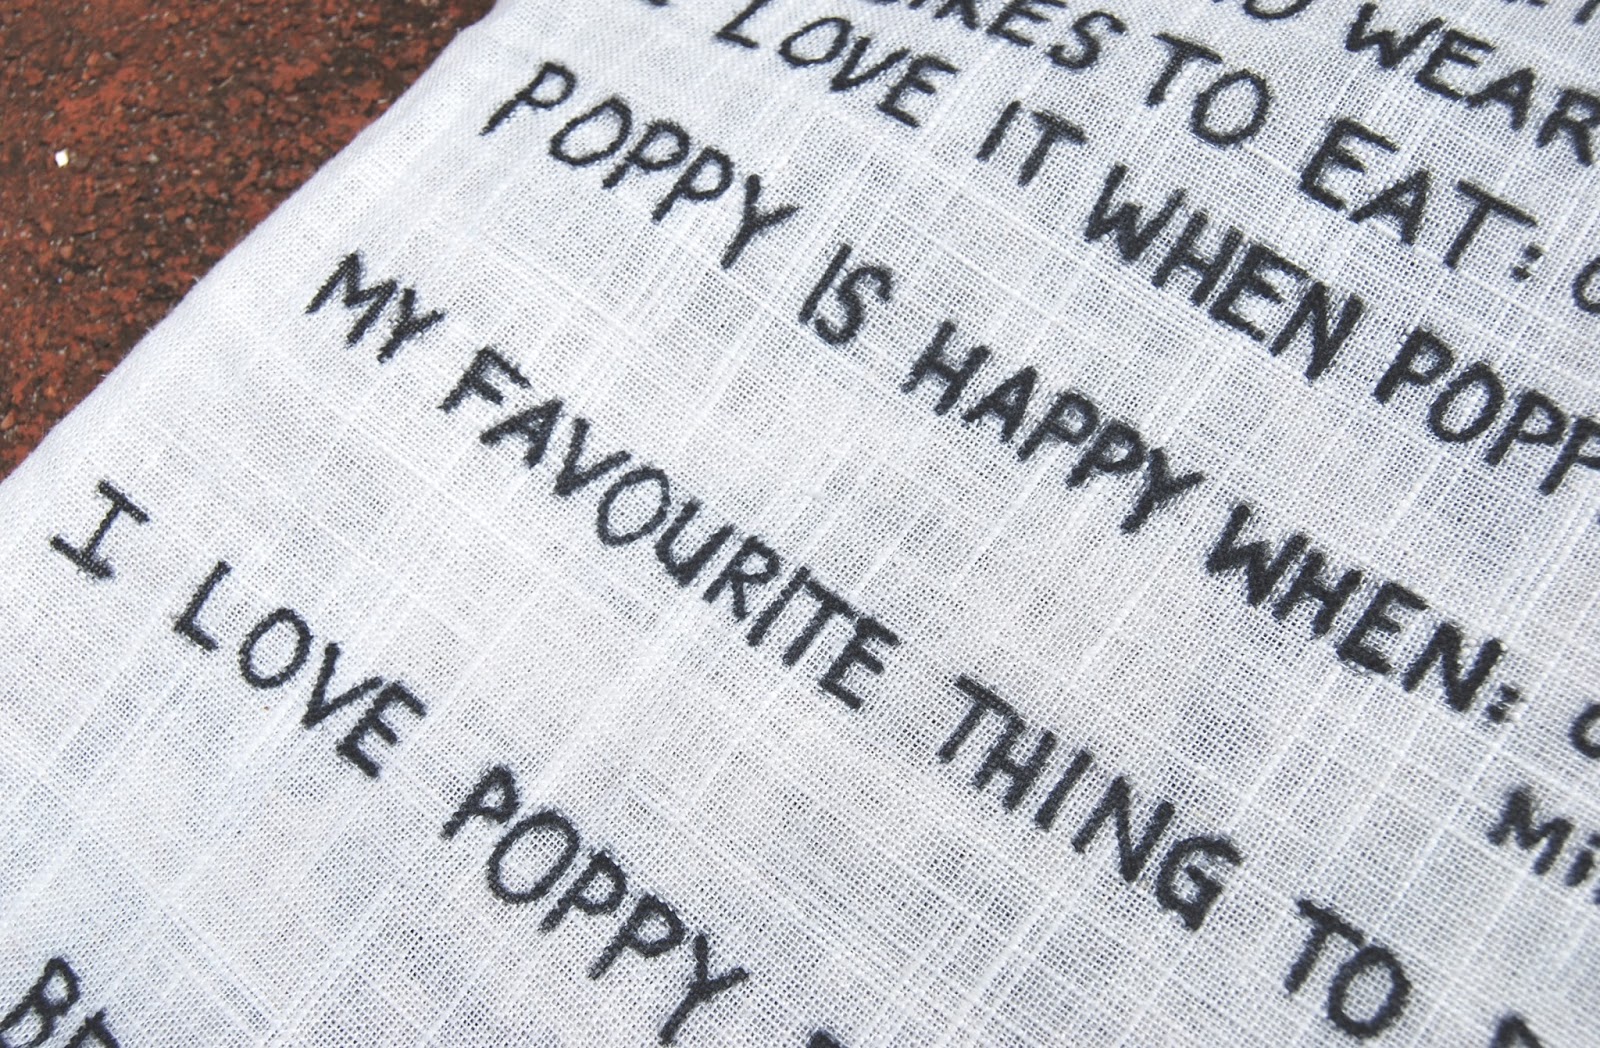
I chose this one (from BigW) because the colours will suit Poppy's home and I love the symbolism of the saying on the front.

I removed the cushion insert and inserted some scrap cardboard so the ink from the Sharpie wouldn't stain through to the other side.
Then I just used a laundry marker to write out our questions and add in the girls answers.

Their replies were hilarious and I know Poppy will love reading them. My favourite replies would have to be "He loves to wear: a moustache!" and "The best thing about Poppy is : he laughs and delivers packages to us". 
I think he will also be particularly pleased at the guesses regarding his age :)

This activity was fun and easy to make and hopefully will be something Poppy can display in his house and smile at on a daily basis!

Thursday, August 8, 2013

Fake Snow Cones - Sensory and Fine Motor Play

For their birthdays recently Bubble and Squeak received some instant snow from their Aunty and Uncle (our rellies know fun when they see it :D). 
This week we used some to create a make believe snow cone stall which the girls had a blast with. Not only was it a great game for encouraging imaginative play but also provided plenty of sensory and fine motor experience as well.

WE USED:
* instant snow
* water
* small tub
* ice cream scoops
* squirt bottle and basters/droppers
* small cups/cones
* small containers of water and food colouring
* pop sticks
* play money

Side note - instant snow is heaps of fun to play with and non toxic, but it is not designed to be eaten. This activity was well supervised.

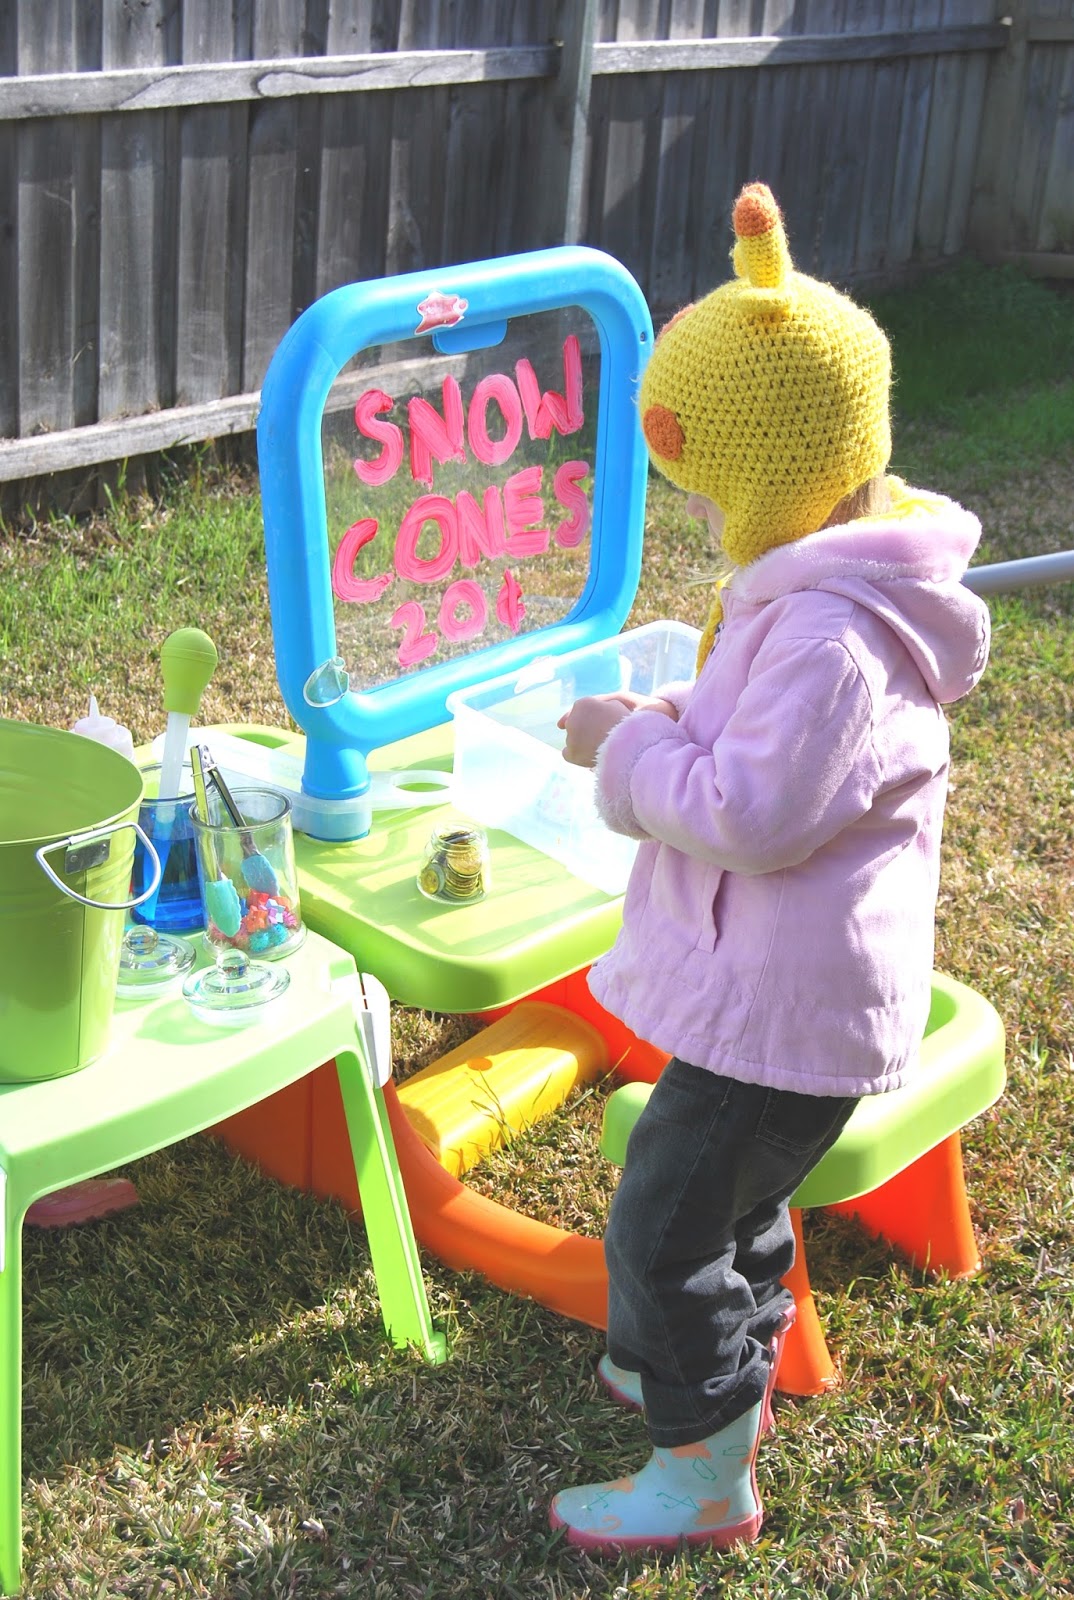
We set up a few tables in the backyard to create our pretend snow cone shop.

This is the instant snow we used, there are many different versions available though. The 'snow' starts as a powder that becomes a light fluffy substance once water is added.
Instant snow is bio degradable and we usually spread it on our lawn after use.

We made all this snow with just a few tablespoons of powder, then we put it in a tub with an ice cream scoop ready to create snow cones!

I set out a small tub full of different cups and paper cones for the girls to use.

Also on the table were some things to decorate the snow cones with; coloured water as syrup and pompoms as toppings.
I put the coloured water in a squeeze bottle and also in a jar with a baster to give the girls two different fine motor exercises. The pompoms were put in a jar with mini tongs to add more fine motor work.

We finished our little shop with some pop sticks and pretend money.

Open for business. The girls took turns being the shop keeper and the customer. We slowly built on their interactions and story lines, this sort of play is great for practicing living skills.

Bubble scooping out some instant snow to make a snow cone.

Using the squeeze bottle to make a raspberry snow cone.

The instant snow looked just like ice!

Squeak's turn to be shop keeper.

Using the baster to add her colour, the squeeze action involved is great for strengthening her hand muscles and grip.


Blueberry snow cone anyone?


Adding some pompom toppings.


Paying with play money. Bubble was getting very precise with her coins and terribly upset when her little sister kept giving her the 'incorrect change' :)

Once the girls had finished with a snow cone they dumped them into a bucket in our paddling pool. At the end of the game they had more fun squishing around the pool in the multi coloured snow.