
We're a bit behind now on our Christmas Count Down, but we'll be catching up over the next few days :-) Thankyou for all the messages and lovely comments about Squeak, she is responding really well to treatment and almost back to her busy little self.
Today we made a cardboard decoration to hang above the table (our Day 9 activity), it turned out so lovely that we will be making a few more over the next couple of days once I've raided our building's recycling room!
WE USED:
* large cardboard box (we recycled a large sized postage box)
* scissors
* ruler
* large dinner plate or circular object (bucket, stool seat, mixing bowl etc..)
* pencil/pen/marker for tracing
* paint (we used white acrylic to go over the writing on our box, then red washable for decorative painting)
* pen/craft knife for piercing cardboard
* string/wool/twine
 Using your plate (or other circular object) trace and cut out two big circles from your cardboard box. Use a ruler to locate the centre and draw a line from anywhere along the side to this point. Using scissors cut a narrow slit in the cardboard discs by following this line.
 We used acrylic white paint to cover the print on our postage box, you could also use glue and collage over it, or cut childrens artwork to size.
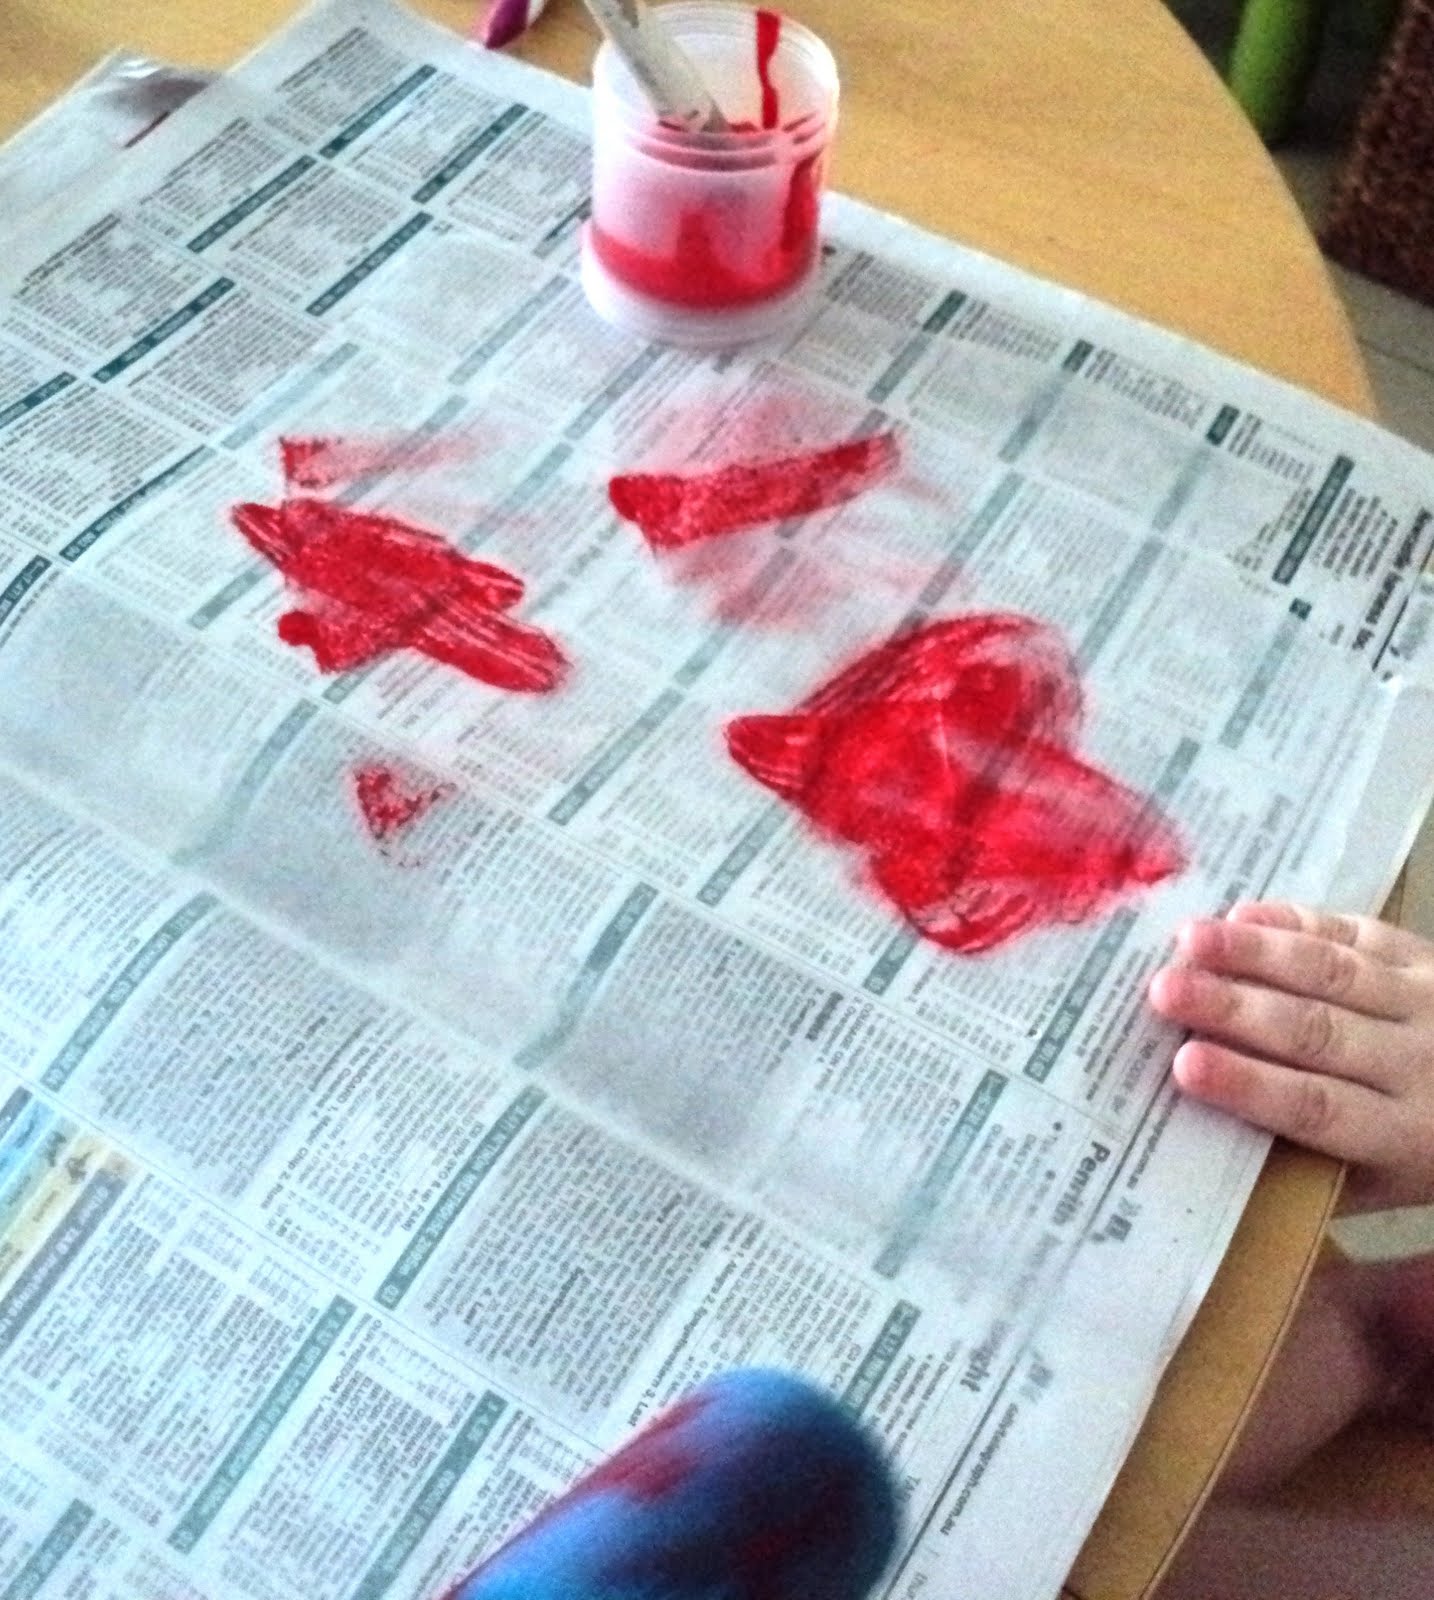 Once the white paint was dry Bubble and Squeak decorated each side with a different painting style; handprints, wax paper mono printing (just like this post here, but using wax paper), toothbrush painting and painting over paper doilies.
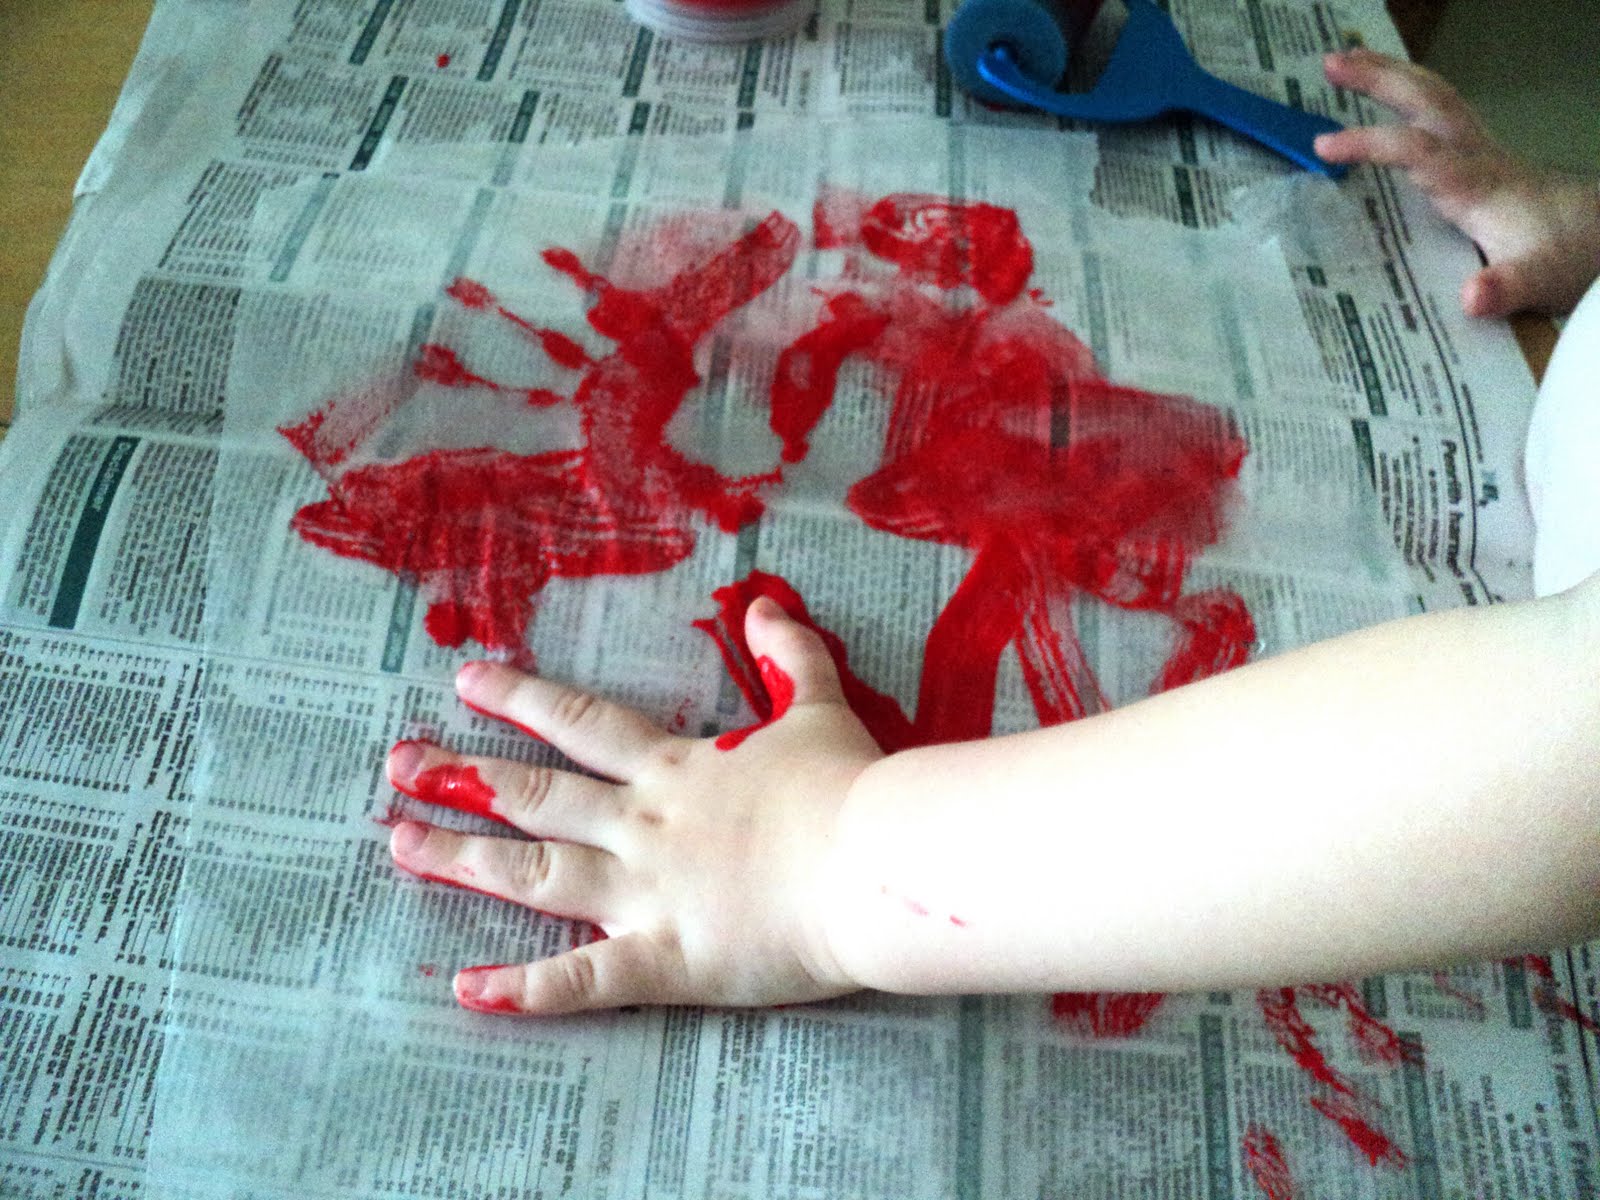
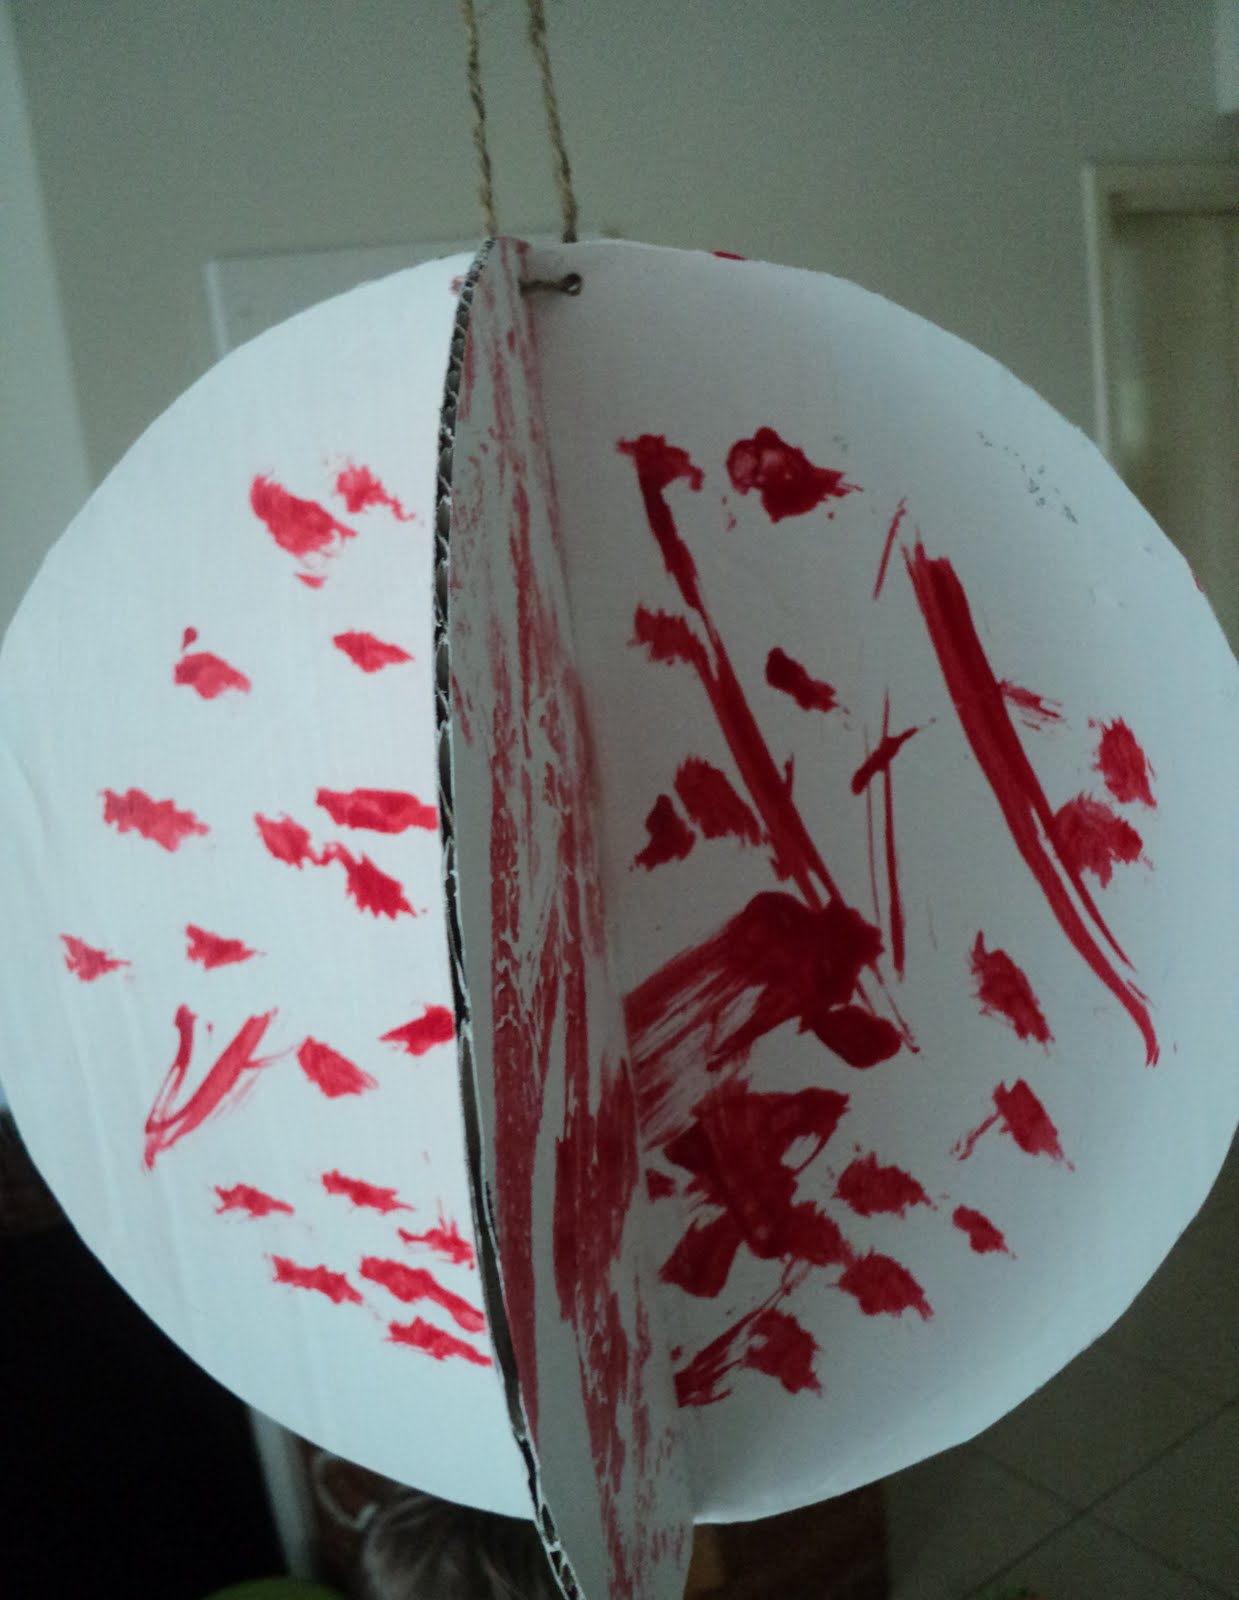
 Once the paint is all dry slide the two slits cut into the circles together to form a sphere-ish shape. Pierce the top with a pen, craft knife or something with a sharp tip and add string to hang.
Just thought I'd add that our cardboard did start to warp a little after we painted it, so once dry I put the discs between wax paper sheets and put heavy books on top for a few hours - they came out flat and strong again.
 The photos don't really do it justice, it looks just lovely above the table and as it spins you can see all the different artwork panels one after the other. I think if we can find a big enough box to make a really giant sized one it would look even better, so we'll be on the hunt tomorrow!
* please note: if you live in an apartment and notice a random woman upturned in the recycling cage tomorrow be sure to say 'hi' :-D


very cute - you got me with this one - Roh is ball obsessed but i could get away with these sorts of baubles!
ReplyDeleteI like this idea. I think we will make a few small ones :)
ReplyDeleteOooh goodluck Ris, hopefully Roh can be bought off with the cardboard version! Evertime I write 'baubles' now I think of Roh lol.
ReplyDeleteSo glad you like this activity Mermaid, hope you have fun creating :-)